an apple crisp kind of day
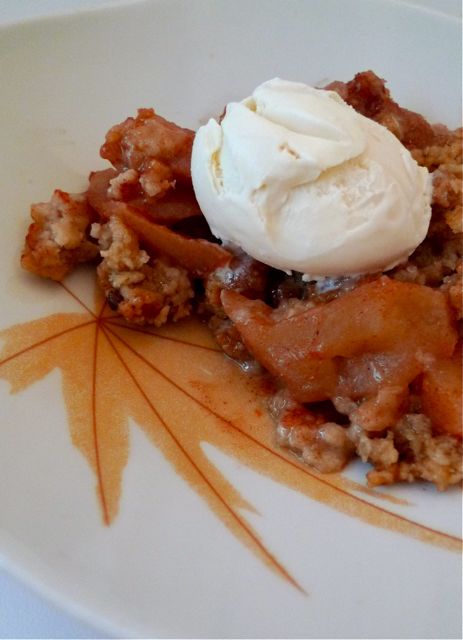
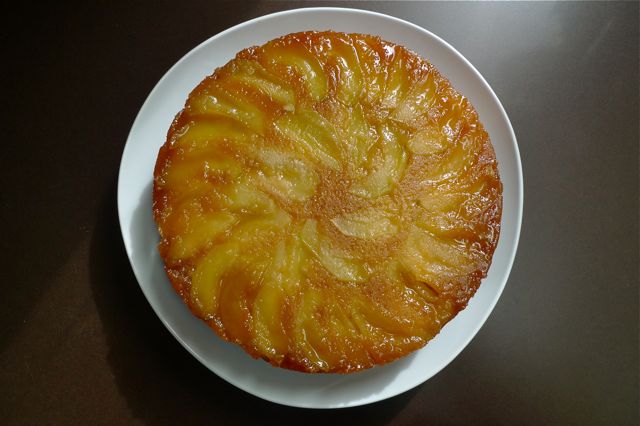
This is my favorite apple crisp recipe.
It's bright citrus undertones are old fashioned and lovely like being cozy by the fire with your family on a snowy holiday.
This is my favorite apple crisp recipe.
It's bright citrus undertones are old fashioned and lovely like being cozy by the fire with your family on a snowy holiday.
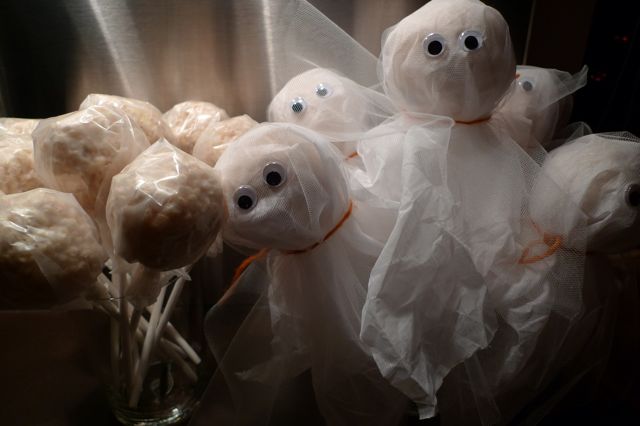
My Halloween spooky sweet this year was to wrap a rice krispies treat like a ghost! They are so easy to make: just form your treat into a ball, insert a 'cookie stick', and dress them up!
Here's what to do:
First, tear about 8 inches of white wax paper from the roll. If you are making a whole batch into ghosts you will need 18 pieces.
Use the original recipe to make the treats (I tend to add a bit more butter and mini marshmallow).
Coat your hands with butter and form the mixture into a ball that measures approximately 2-2.5inches in diameter.
Insert a cookie stick (can be found at a baking/candy making supply store or Michael's has them in the baking section. A popsicle stick will also work, but cookie or lollipop sticks are white!) and press the ball firmly around it.
Place on wax paper sheet and repeat process for the rest of the batch. You will need to work quickly and constantly coat your hands with butter or it will be a sticky mess!
Wrap each treat in the wax paper, twisting tightly around base and perhaps even using scotch tape to keep sealed. Trim off excess paper.
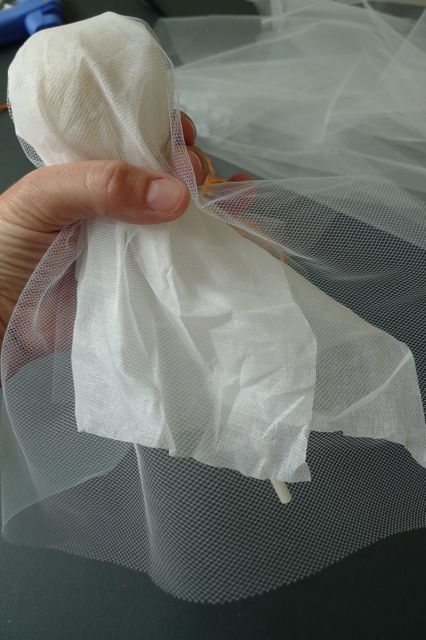
Next, cut pieces of white fabric roughly 11 x 14 inches. I used organdy which is stiff and can hold its shape well and then topped with an equal piece of white tulle. I was really pleased with how this combo turned out but I'm sure any sort of white fabric would be just as cute.
Wrap the fabric around the treat and tie loosely with string of your choice. I used orange yarn for a little color.
Time for some googly eyes! Boo!
Wrap up all your treats. Fun!
I love that they are on sticks which makes eating them a slightly neater experience. Perfect as party favors!

No, I did not attack our halloween candy stash in a late night binge. In fact, we don't get any trick-or-treaters so I don't even buy any candy for them.
These candy wrappers are a part of something far greater than 'just halloween candy'.
This was for a recipe I saw in the October issue of bon appetit.
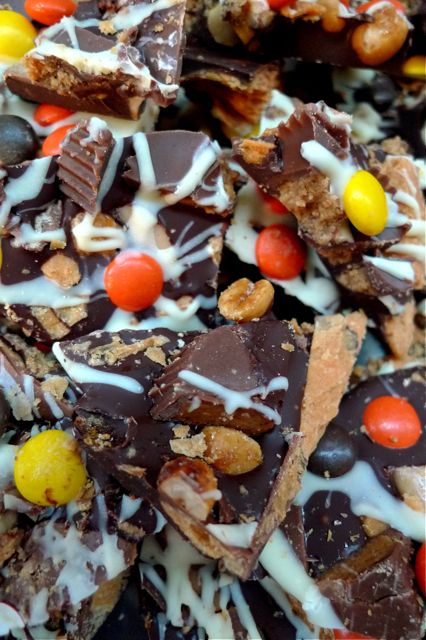
 You know how food magazines and television cooking shows offer you loads of ideas for what to do with your Thanksgiving Day leftovers? I feel like whoever concocted this recipe said to themselves, "What are we going to do with all of this leftover Halloween candy? (lightbulb goes off) I know! We'll crush it all up and throw it on even more melted chocolate and call it bark!"
One heck of an idea.

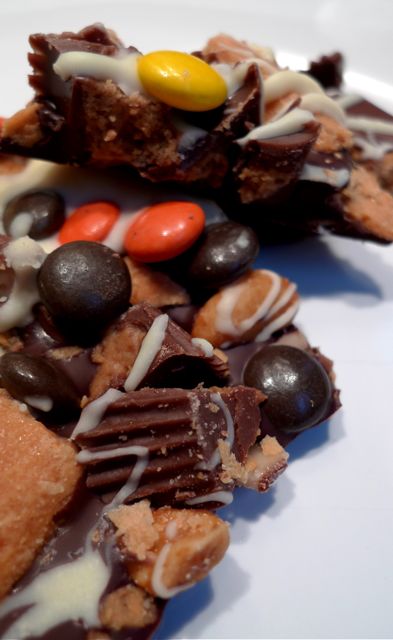
One pound of bittersweet chocolate morsels melted, 3 Heath bars, 3 Butterfingers, 8 Reeses Peanut Butter Cups, 1/4 C of honey roasted peanuts, 3 ounces of white chocolate to make it look pretty and as if that's not enough, topped with Reeses Pieces AND/or peanut M & M's for festive color.
Unwrap. Destruct. Melt. Assemble. Melt. Assemble more. Chill. Destruct. Serve. But please, don't eat it all yourself.
mushroom-cupcakes
I made mushroom cupcakes for the party. Edible table decor!
For the cake I used Martha Stewart's yellow buttermilk cupcake recipe, which I had used once before and they were amazing. I decided to make these the day before to save time and to be honest, they were a little dry. Ok, very dry. (Maybe my storage method wasn't exactly airtight.) But they looked really cute! We just ate the tops. Anyway, any white or yellow cake would be fine. I used unbleached kraft cupcake liners as the mushroom base.
Something I learned from this project is how hard it is to achieve true red frosting. I was about to give up on my pinky color when I realized if I dipped the cupcake in red sugar, pink was transformed to a lovely red! Yay! I piped on the white dots. Viola!

Drunken gummy bears.
I know, I know! I said I was planning a first birthday party, so why am I boozin' up the bears?
Because it sounds like so much fun.
I had never heard of drowning your gummy bears in alcohol before. Unusual cruelty or fun adult treat? I'll go with the latter. I suppose the best part of this story is that is was my mother who told me about this. She made them for a party. They were a big hit. My surprise in the fact that she was the one telling me was overshadowed by my pure excitement in making these for my husband, an avid gummy bear eater.

Three small packages of haribo gummy bears went into a jar with a lid. (Minus the ones that were consumed in the preparation process!) Equal parts citron vodka and watermelon schnapps were poured over the bears and then gently stirred. I used about a half cup of each. Seal up the jar and put into the fridge. Let those little bears soak. As they absorb the alcohol, replenish in equal parts. Keep refrigerated. Repeat for at least three days.
I'll update as they soak and grow!
UPDATE!

Wow!
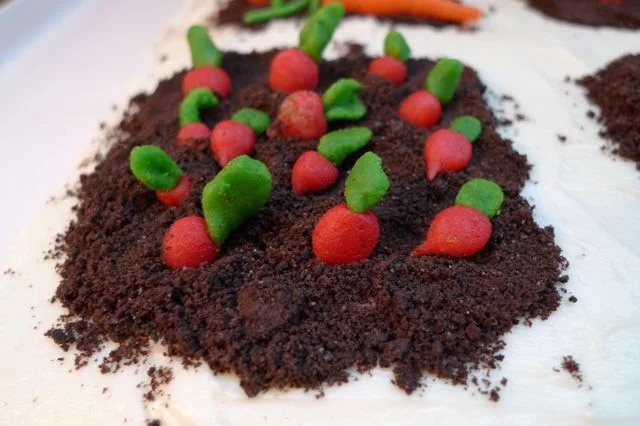
The fruits (or shall I say vegetables?) of my labor. Sticky fingers dyed with food coloring formed these mini marzipan carrots, potatoes, radishes, rhubarb, cabbages and peas. They were then placed in the crushed chocolate wafer cookie 'dirt' patches as if they sprouted out in the springtime sunshine right here upon this carrot cake topped with yummy cream cheese frosting. It is sure to bring many smiling faces and happy tummies. Hmmmm, to eat it with a fork or a little shovel?