by hand

L1200717.jpg

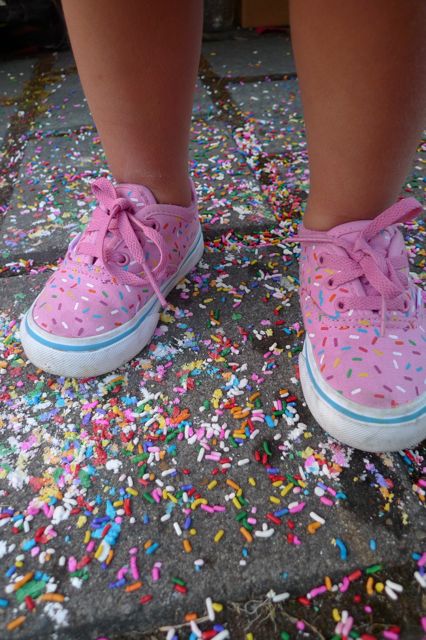
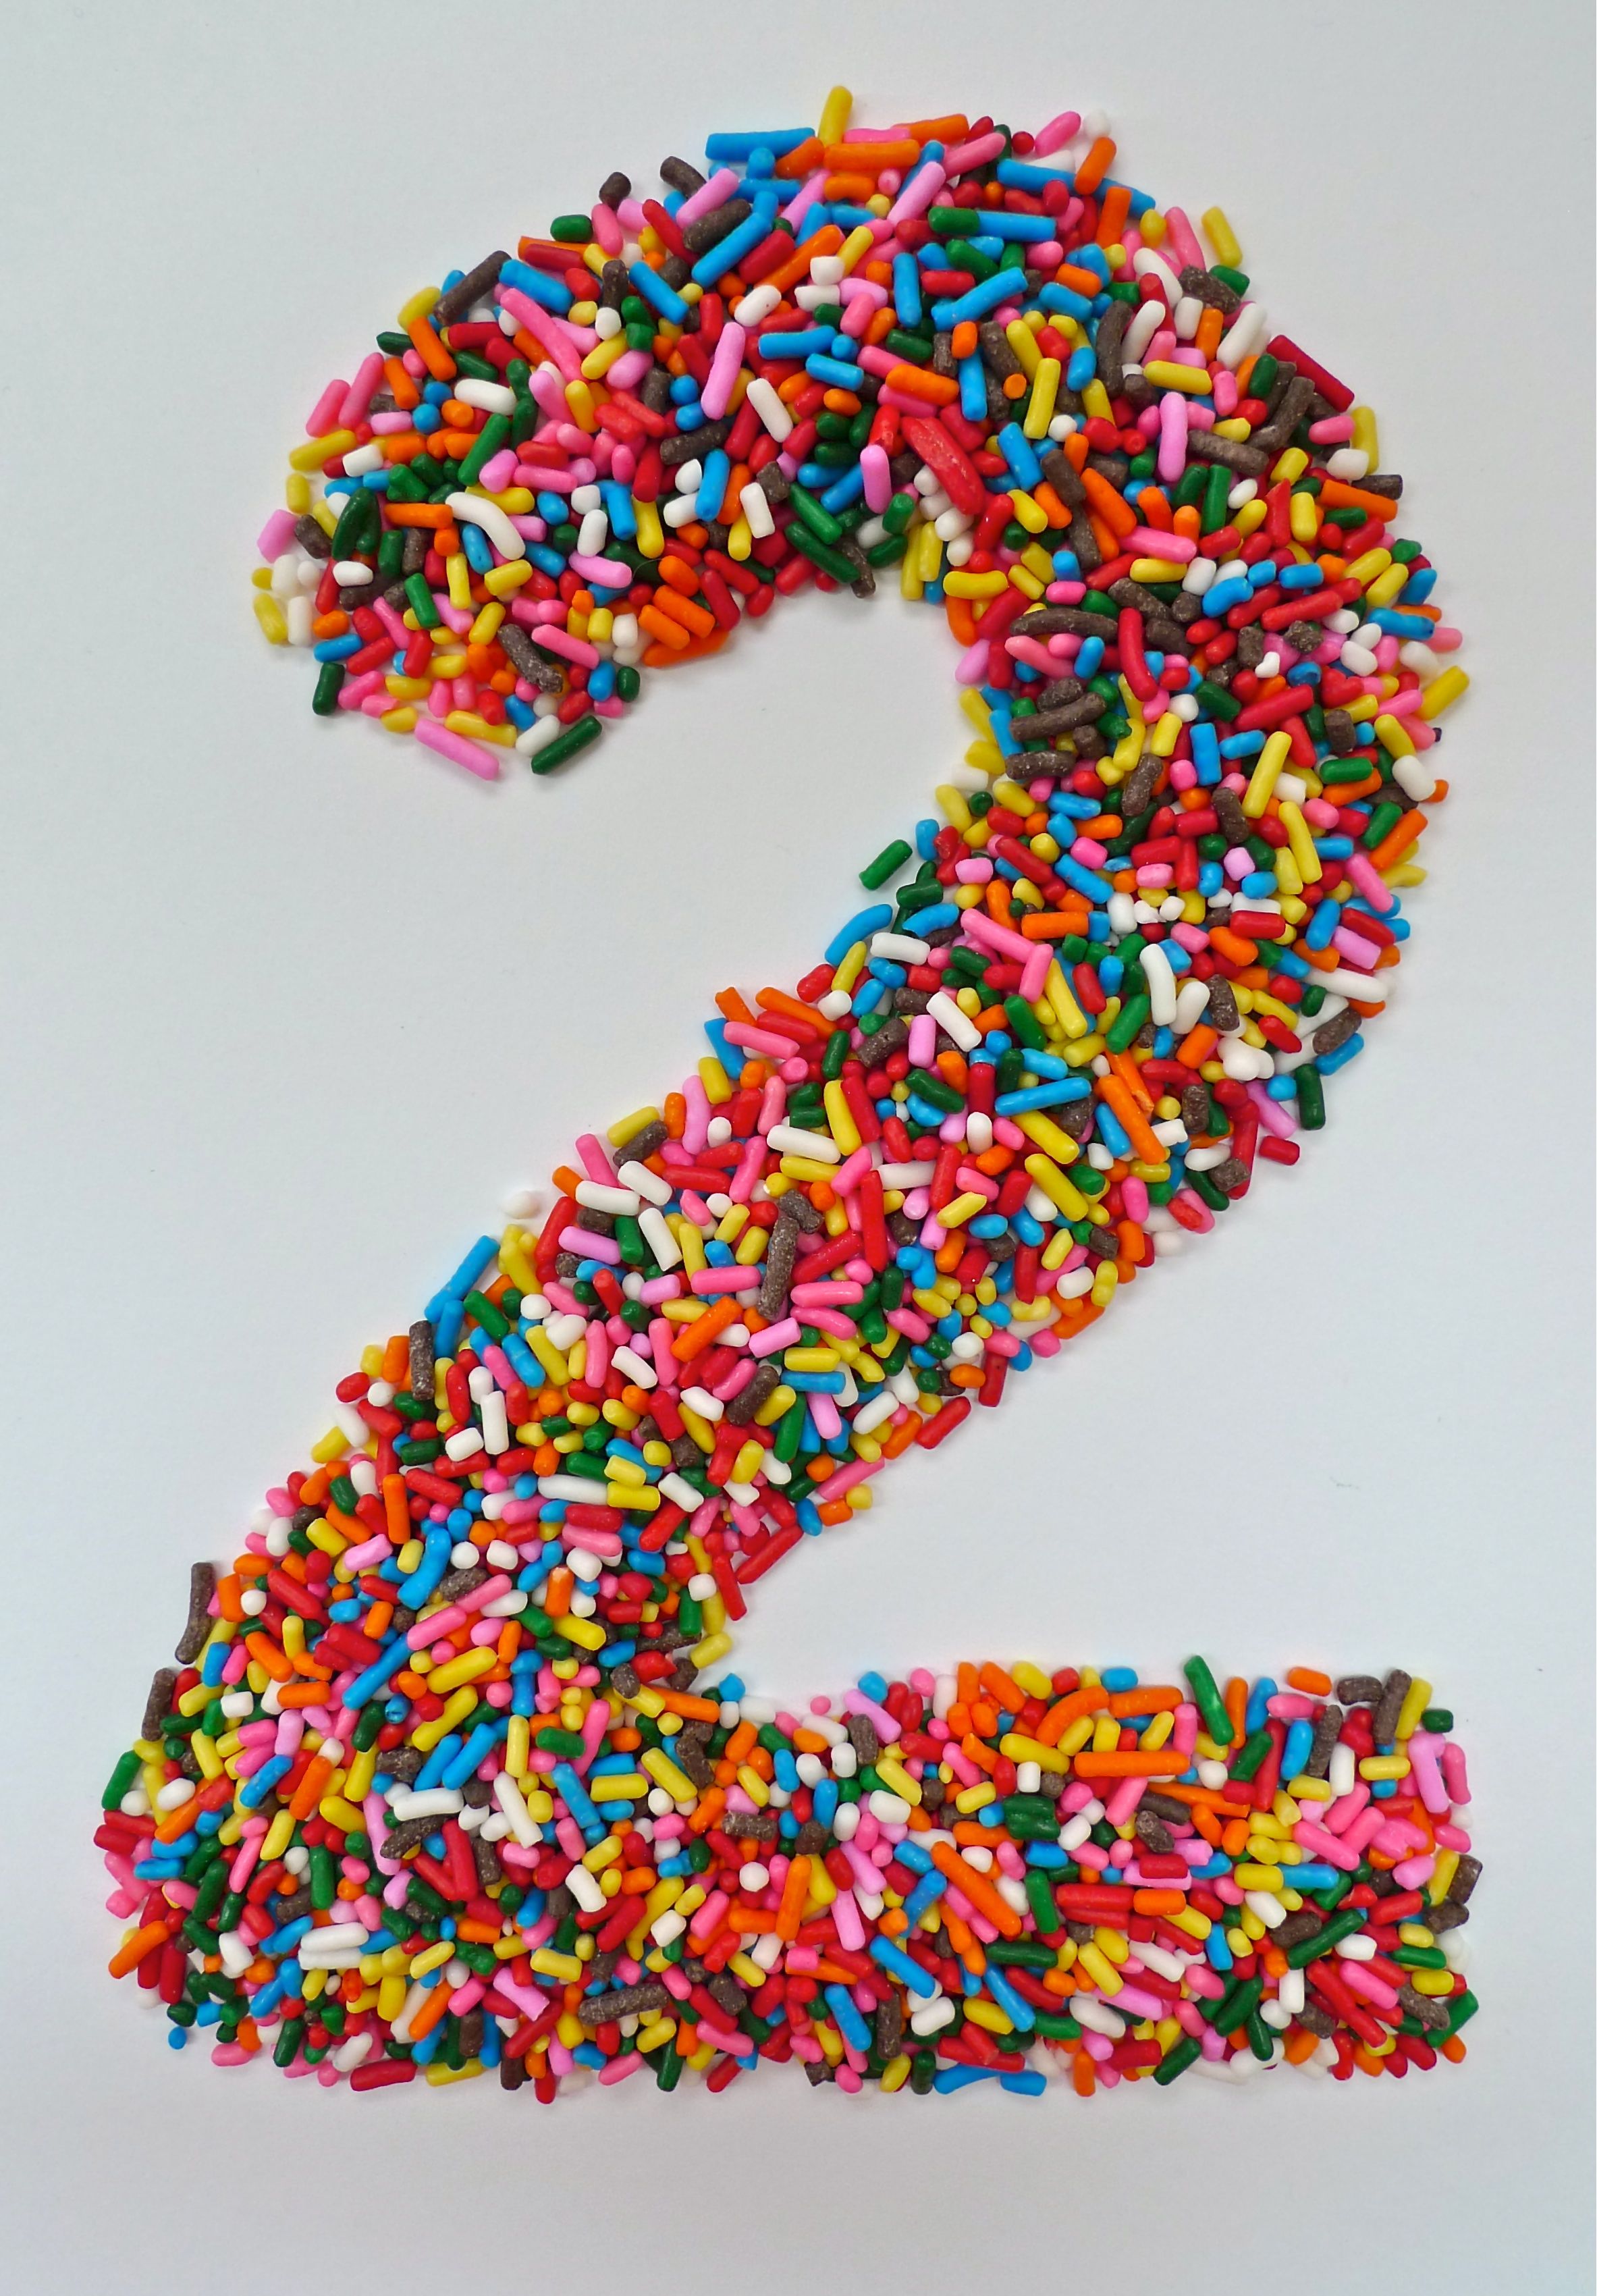
My nails were dressed for the occasion. They are starting to chip as I mop and clean up from the party and try to figure out what to do with the extra cones and twenty pounds of rainbow sprinkles.

I always start with a vision, make a plan and hope that it all comes together just as I imagined.

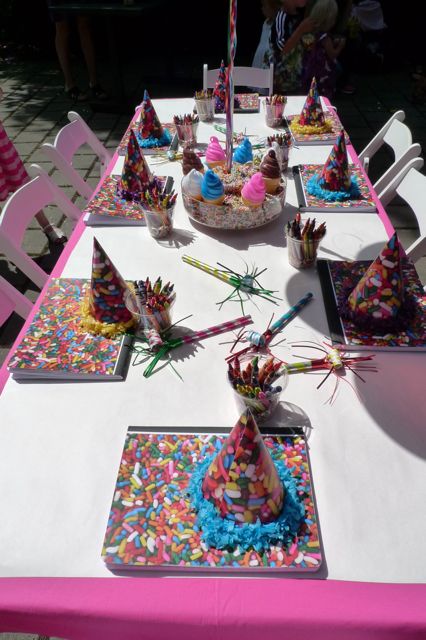
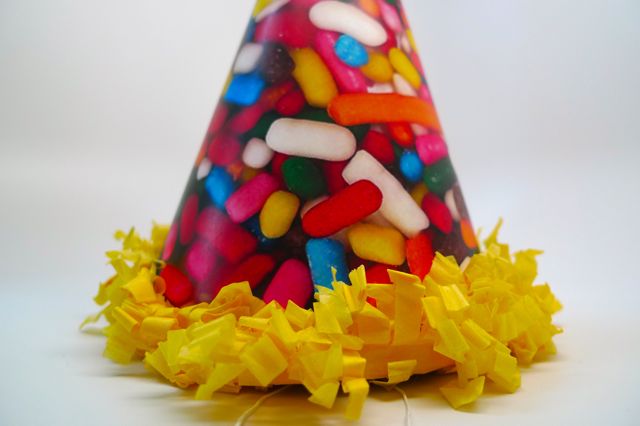
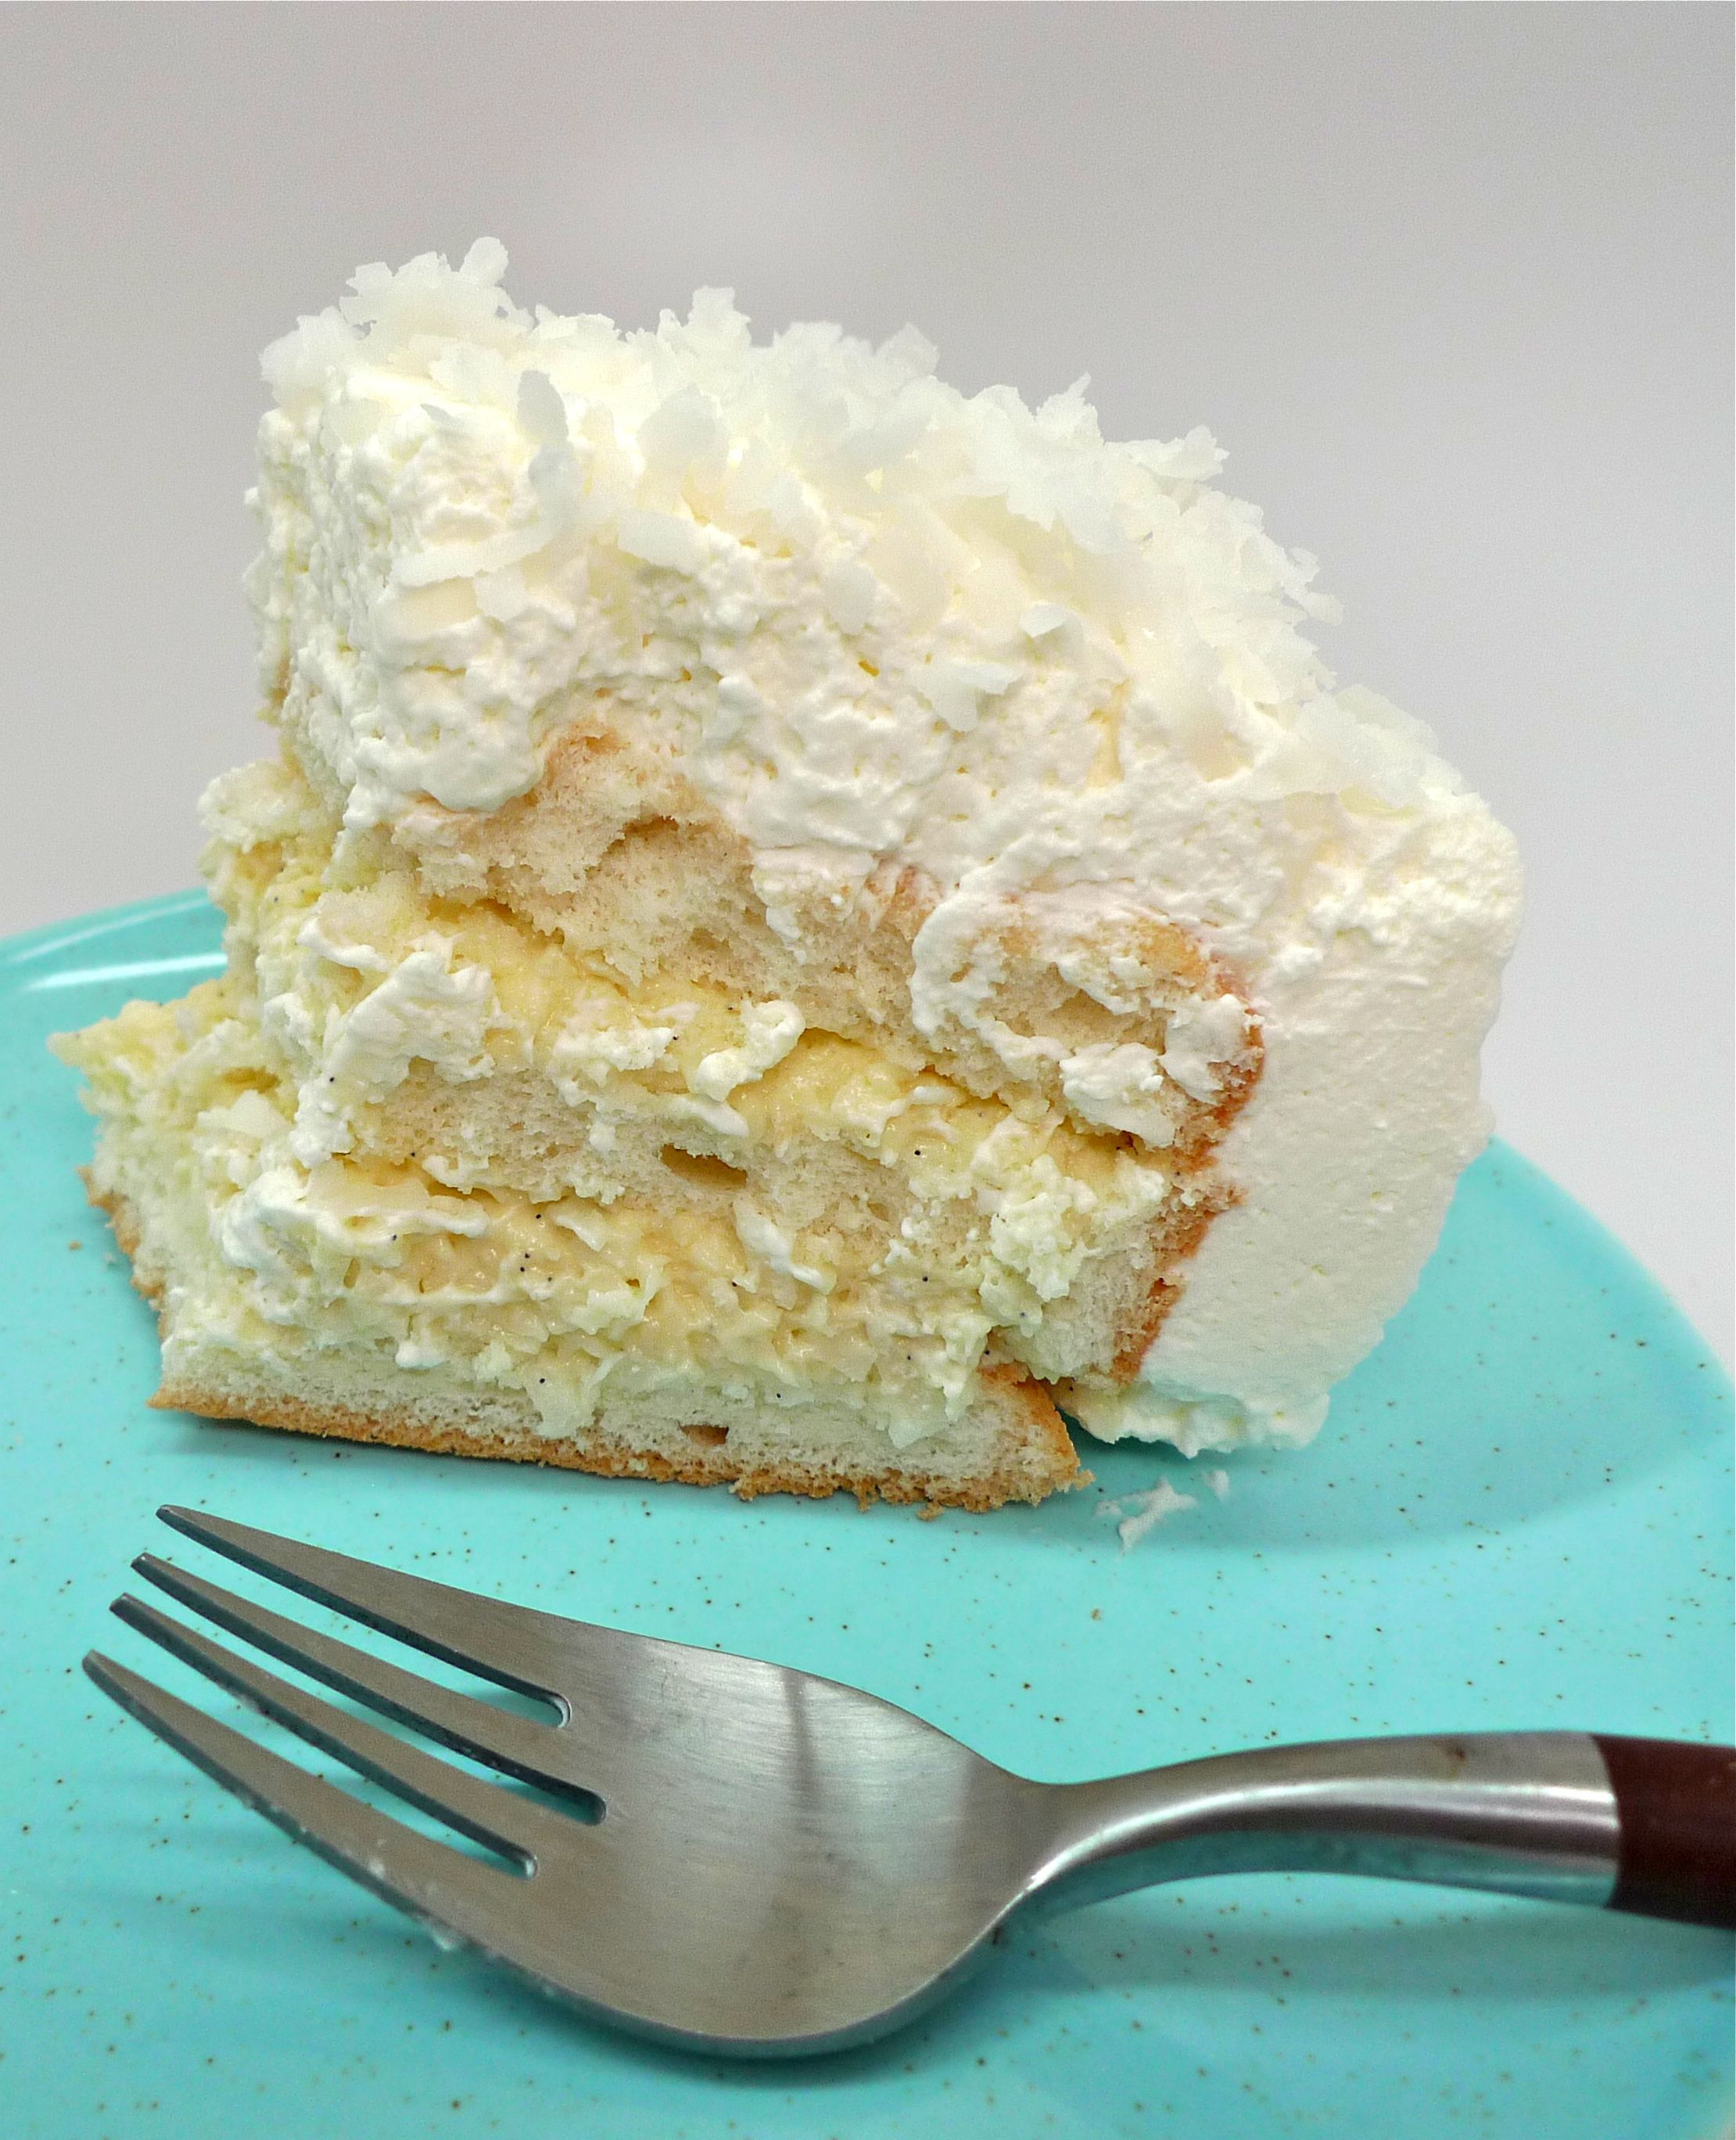
As for this party, I was definitely thrown some obstacles: not finding rainbow sprinkles until three days before the party, having the wrong size cones, not being able to find Fluff in Portland to make Stacie's magic frosting and using another brand resulting in wasted time and really, really bad frosting and a mad rush to come up with AND frost the sixty cupcakes I made. So much for my vision of them actually looking like soft serve; there wasn't enough time or frosting to do so and it took a wonderful friend to remind me that no one really likes that much frosting anyway and to just "let it go", these would be cute little dwarfed ice cream cones.

She was right.

I was so lucky that she came to help me because even though I awoke at 6am, I was running out of time. I realized it is very hard to pull together a birthday party for your two year old and still give her the attention she deserves on her special day. When our fabulous babysitter arrived early  I was very excited to see her. One hour left with a whole lot of decorating and fighting with the wind. Crepe paper streamers and wind do not mix. Guests arrived, I was still setting up. I didn't take photos and didn't really want to because things were not looking like I had planned. I'm a psycho about this. At least I can admit it.

It was a whirlwind. Eight kids+ twenty-five adults and two infants= a bit chaotic, at least for me running all over the place. It wasn't until some of our guests had parted that I actually had a chance to sit down, relax and enjoy the company of our friends that remained.

I do this to myself, I know!  I want to make things by hand and have it "perfect".

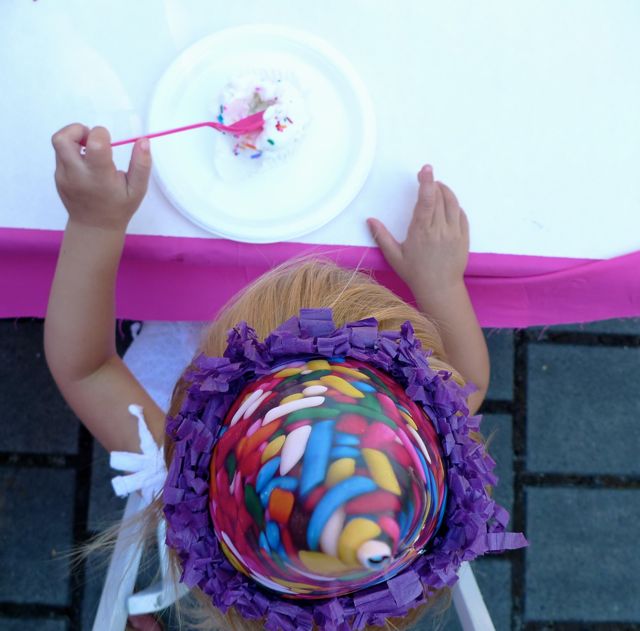
The thing is, when I saw Clementine enjoying her party, happy as a bowl of vanilla ice cream covered in rainbow sprinkles, I realized that she doesn't care if it's perfect; actually, to her it IS perfect.

THAT is the most important thing.

composition book remake=fun party favor!

book1.jpg
book2.jpg
book3.jpg
book4.jpg

Yes, rainbow sprinkle notebooks!

I had a vision of binding small notebooks of plain paper for each of the kids as part of the party favor. The cover would obviously reflect our colorful theme. I wasn't sure exactly how much that would cost but while browsing the back to school section I found a deal I couldn't resist: composition books for 40 cents. I'm pretty sure I couldn't beat that.

Enter 8.5 x 11 prints of my rainbow sprinkle photo, xtreme glue stick, and x-acto knife. Using the glue stick I covered the entire surface of the front and back cover of the composition book and then placed my printed page on top, pressing firmly to make sure it was attached at the very edges. I then cut off the excess paper with the sharp blade.

I had planned on using colored duck tape over the black binding but as it turned out, that glue worked really well and I liked how it looked with the white border and the black. Great! Less work!

Just like that this plain old composition book has been transformed into table decoration and party favor!

rainbow sprinkle party hats

one.jpg
one1.jpg
one2.jpg
one3.jpg

When asked what she wanted for her birthday, Clementine replied "Cake and hats."

Easy enough! Does that mean we should return the tricycle?

What's a party without hats?

I took a picture of a bunch of rainbow sprinkles and printed it out on heavier weight paper. Instead of starting from scratch and getting my own cardboard and elastic, I opted for the time saving route of using store bought hats. Deconstruction and reconstruction! I traced the shape, cut it out and then glued it to the hat. To make them a bit more festive I added the garland around the base with some hot glue.

Hats? Check!

Now for the (cup)cake...

The best coconut cake

and quite possibly the best cake I have ever made. At least that's what the mister said.

Before leaving for work yesterday he said not to worry and slave over a cake.

Just do something easy.

About thirty minutes later I received an email containing the recipe for the Halekulani Coconut Cake.

Oh boy.

I had to have a bite while taking the picture; I couldn't resist.

The cake is so light, the pastry cream so yummy, all in combination with the whipped cream and coconut...

OH MY!

Yes, a little labor intensive but definitely worth it!

Here's the recipe:

**CAKE**

3/4 cup cake flour

1/3 cup sugar

1/4 teaspoon of salt

1 teaspoon baking powder

1 egg

1/3 cup water

2 tablespoons vegetable oil

4 egg whites

1/4 teaspoon cream of tartar

1/4 cup sugar

***PASTRY CREAM***

1  1/2 cup milk

1 split vanilla bean

1/3 cup sugar

3 tablespoons flour

4 egg yolks

***WHIPPED CREAM***

3 cups whipping cream

3 tablespoons sugar

sweetened coconut flakes

Preheat oven to 350 degrees

Sift together cake flour, 1/3 cup sugar, salt, and baking powder. Set aside. Combine egg, water and oil; add to sifted ingredients. Mix batter until smooth.

In a separate bowl, whip egg whites with cream of tartar. Gradually add 1/4 cup sugar; continue to whip to form a stiff meringue. Fold batter into meringue and mix thorooughly.

Pour into an ungreased 9-inch cake pan (I used a spring form pan) and bake about thirty minutes. Invert the cake onto a rack and cool.

To make the pastry cream: Scrape vanilla bean seeds into milk and bring to a boil over moderate heat (add vanilla bean pod to the milk as well). Combine sugar, flour, egg yolks; whip until light yellow.  Slowly pour 1/2 of the hot milk into the egg mixture to temper it.  Add milk-yolk mixture back to the remaining milk and cook over moderate heat, stirring constantly until thick.  Immediately remove bean pod and strain, then place in a bowl and cover with plastic wrap. Chill. (Having never made a custard before I was a bit confused by the straining. I would've loved to google it but stirring constantly and then trying to assure an almost two year old who awoke early from her very short nap that she could stop screaming and mama would be right there she just had to finish making the pastry cream...one more minute...hold on... simultaneously making a huge mess, not really straining anything in the end...you get the picture. I'll have to look into that. It still tasted delicious)

To prepare the whipped cream: whip cream and sugar until fluffy. Fold 1 cup into pastry cream; reserve the rest to frost the cake.

To assemble:

Cut your light spongie cake into three layers. Stir 3/4 cup of coconut flakes into pastry cream. Spread cream between layers of the cake. Frost top and sides of cake with remaining whipped cream and sprinkle with coconut flakes.