The best coconut cake
and quite possibly the best cake I have ever made. At least that's what the mister said.
Before leaving for work yesterday he said not to worry and slave over a cake.
Just do something easy.
About thirty minutes later I received an email containing the recipe for the Halekulani Coconut Cake.
Oh boy.
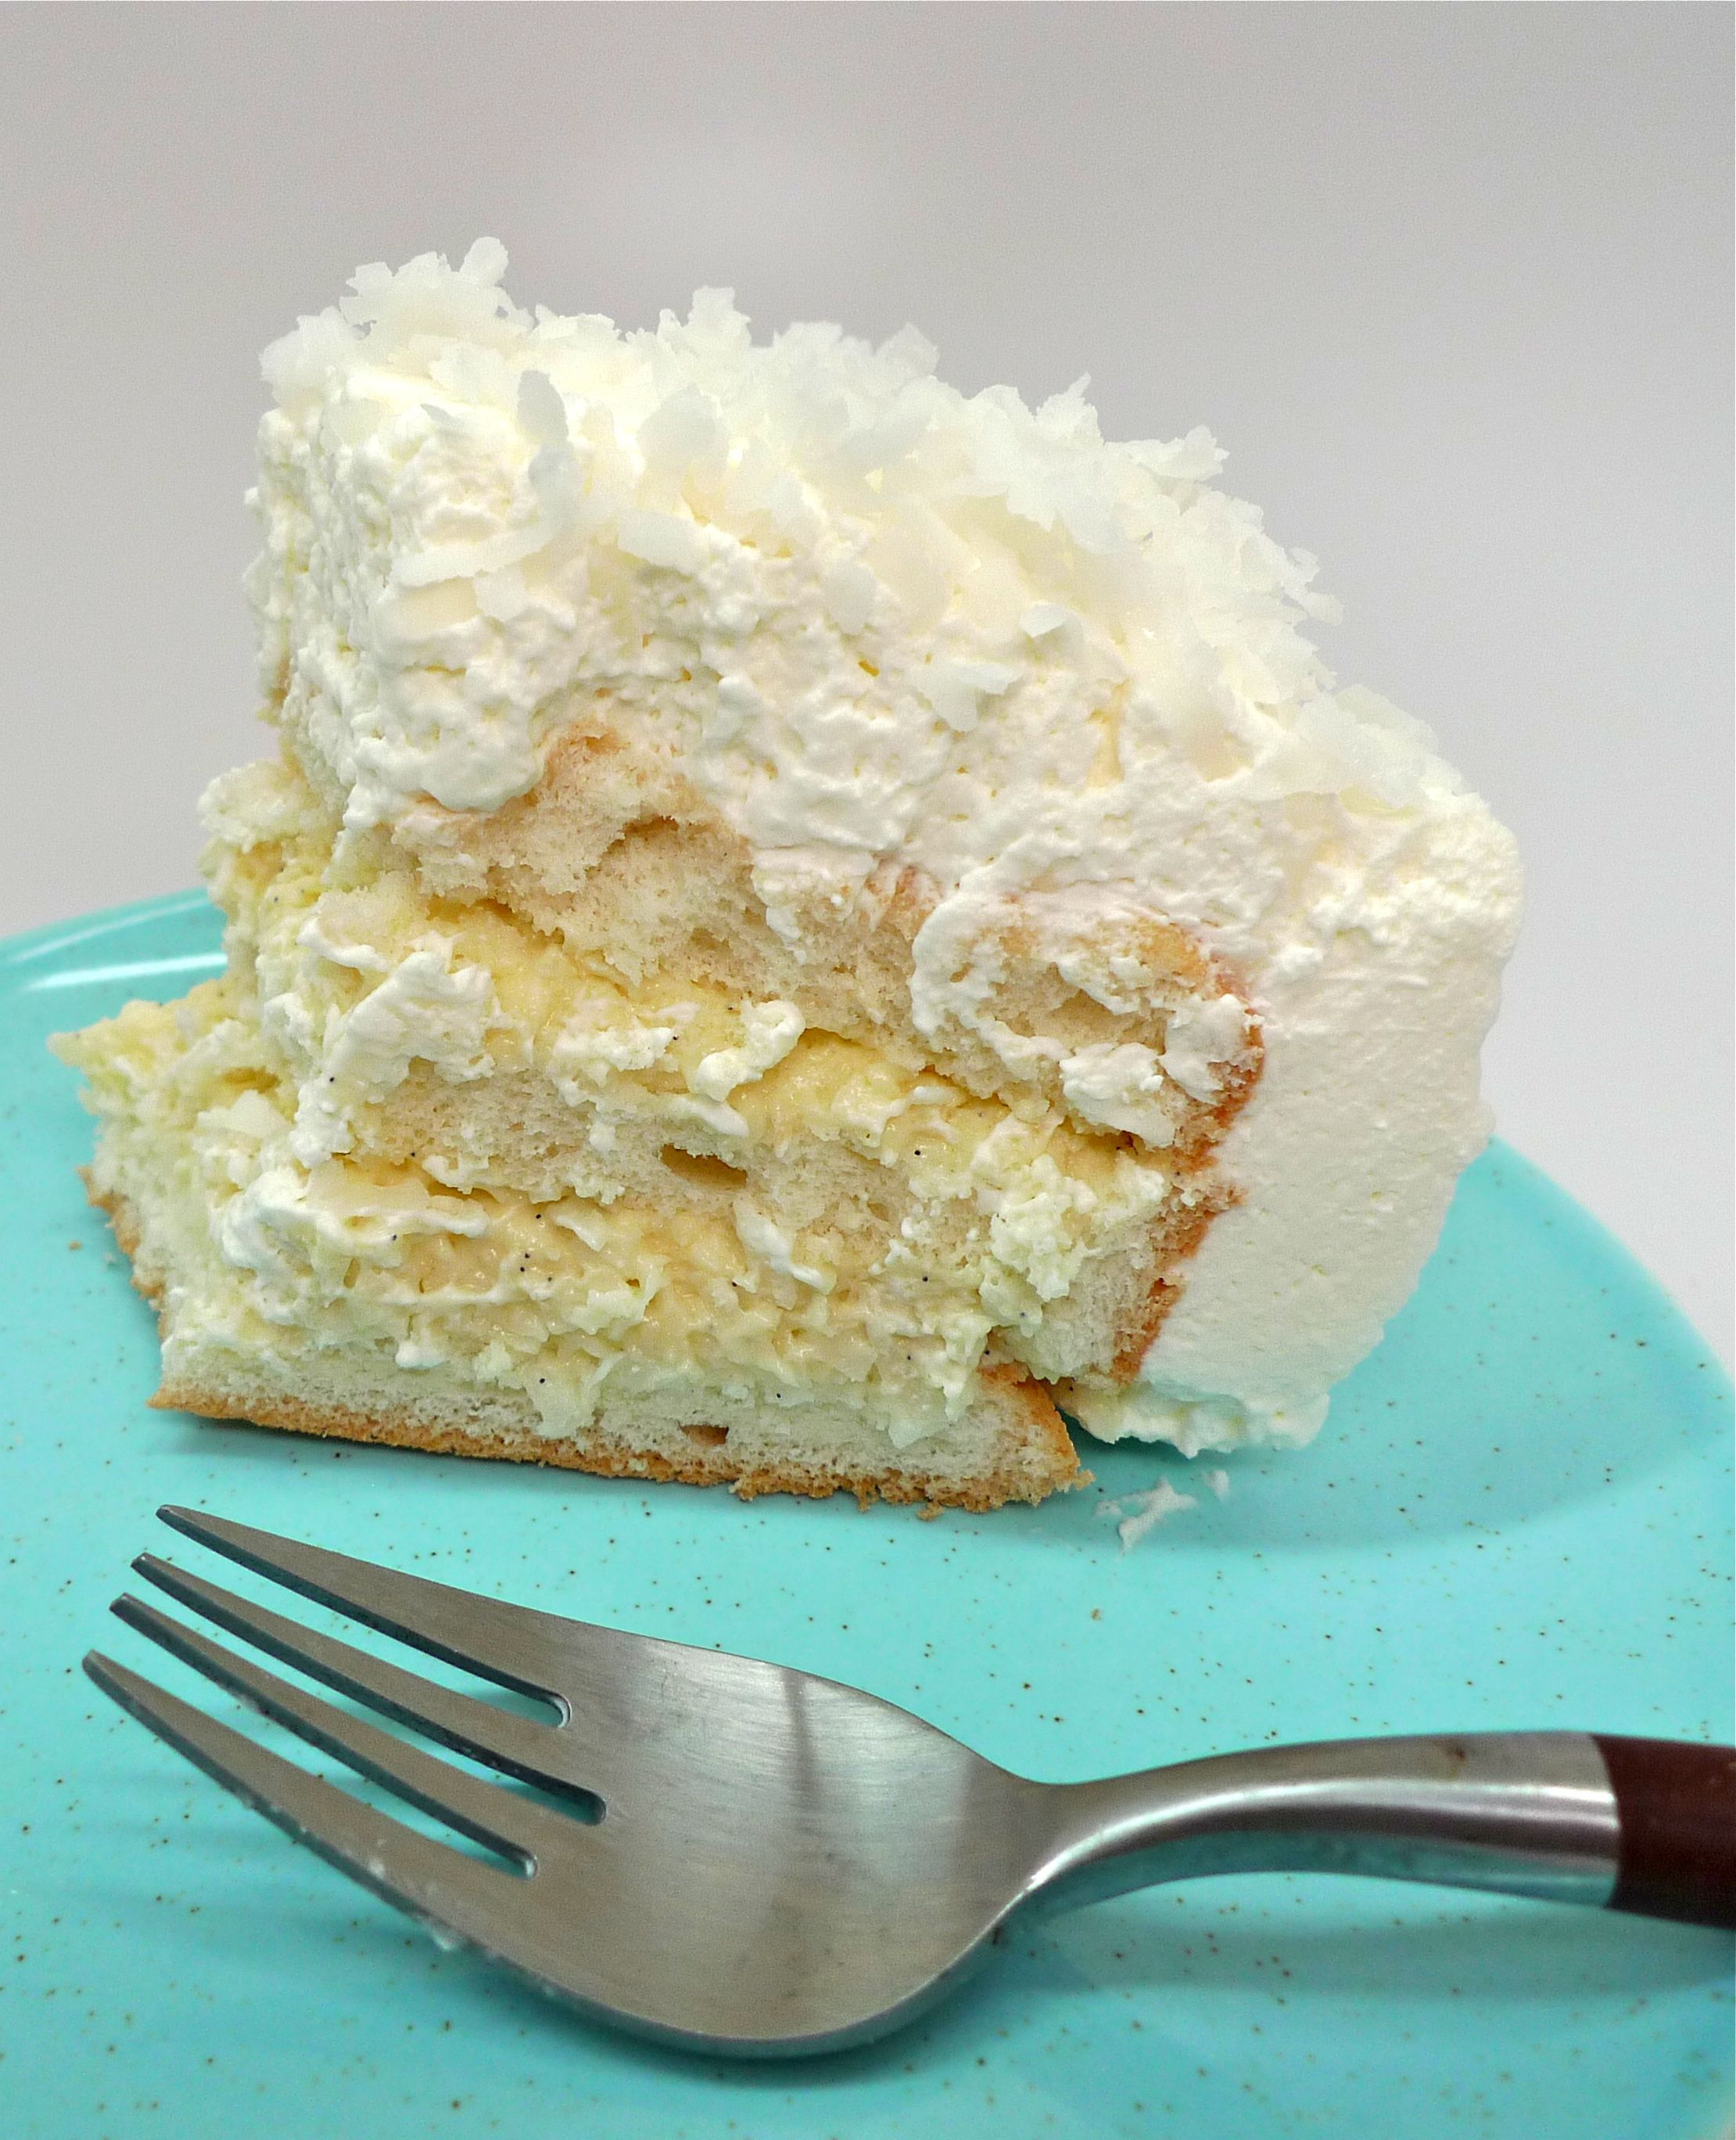
I had to have a bite while taking the picture; I couldn't resist.
The cake is so light, the pastry cream so yummy, all in combination with the whipped cream and coconut...
OH MY!
Yes, a little labor intensive but definitely worth it!
Here's the recipe:
**CAKE**
3/4 cup cake flour
1/3 cup sugar
1/4 teaspoon of salt
1 teaspoon baking powder
1 egg
1/3 cup water
2 tablespoons vegetable oil
4 egg whites
1/4 teaspoon cream of tartar
1/4 cup sugar
***PASTRY CREAM***
1 1/2 cup milk
1 split vanilla bean
1/3 cup sugar
3 tablespoons flour
4 egg yolks
***WHIPPED CREAM***
3 cups whipping cream
3 tablespoons sugar
sweetened coconut flakes
Preheat oven to 350 degrees
Sift together cake flour, 1/3 cup sugar, salt, and baking powder. Set aside. Combine egg, water and oil; add to sifted ingredients. Mix batter until smooth.
In a separate bowl, whip egg whites with cream of tartar. Gradually add 1/4 cup sugar; continue to whip to form a stiff meringue. Fold batter into meringue and mix thorooughly.
Pour into an ungreased 9-inch cake pan (I used a spring form pan) and bake about thirty minutes. Invert the cake onto a rack and cool.
To make the pastry cream: Scrape vanilla bean seeds into milk and bring to a boil over moderate heat (add vanilla bean pod to the milk as well). Combine sugar, flour, egg yolks; whip until light yellow. Slowly pour 1/2 of the hot milk into the egg mixture to temper it. Add milk-yolk mixture back to the remaining milk and cook over moderate heat, stirring constantly until thick. Immediately remove bean pod and strain, then place in a bowl and cover with plastic wrap. Chill. (Having never made a custard before I was a bit confused by the straining. I would've loved to google it but stirring constantly and then trying to assure an almost two year old who awoke early from her very short nap that she could stop screaming and mama would be right there she just had to finish making the pastry cream...one more minute...hold on... simultaneously making a huge mess, not really straining anything in the end...you get the picture. I'll have to look into that. It still tasted delicious)
To prepare the whipped cream: whip cream and sugar until fluffy. Fold 1 cup into pastry cream; reserve the rest to frost the cake.
To assemble:
Cut your light spongie cake into three layers. Stir 3/4 cup of coconut flakes into pastry cream. Spread cream between layers of the cake. Frost top and sides of cake with remaining whipped cream and sprinkle with coconut flakes.