My plan for a main wall in the baby's room was to use chalkboard paint. Not the traditional green or black, something different. I wanted orange. Of course I had a particular shade of orange in mind so the quarts of rustoleum in pre mixed quarts of colors was not going to work. I searched the internet looking for advice on blogs, reading magazine articles, even contemplated making my own using Martha Stewart's recipe, which would be quite a project. It was a big wall. I needed at least a half gallon and before you can use your home made chalkboard wall you have to cover the whole thing with chalk and then wipe it off. No thanks. That's not what I'm looking for.

Then I found Magnamagic. I ordered a gallon of their tintable chalkboard paint which they claimed could be be tinted any color you wanted. It was a neutral base paint. I later learned this meant that pastel colors were harder to achieve exactly but if you were looking for a stronger hue this would be perfect. And it is. $49.99 a gallon plus three day delivery and my creative dream was on its way to becoming a reality.
 I read on the Magnamagic web sight that a few select Sherman Williams stores on the east coast were now carrying their products. So that's where I decided to go to hoping that the bases of the paint would be similar and I could get a more exact color match. The staff at Sherman Williams was overly helpful. Although I left there a little uneasy about the dabble of paint on my gallon top thinking it was a bit brighter than I wanted I realized those people really know their stuff because the paint dried a bit darker on the wall and it was an exact match.
Top reasons to try this paint:
- You pick the color. whoo hoo!
- The paint fumes were surprisingly lower than your average gallon of paint.
- Goes on smoothly and one coat was enough!
- Let the paint dry for 48 hours before using chalk on it. You can actually erase your chalk with a clean damp cloth without leaving behind an obvious spot on the wall.
 After the paint dried I could begin the chalk drawing that I had envisioned for the nursery...


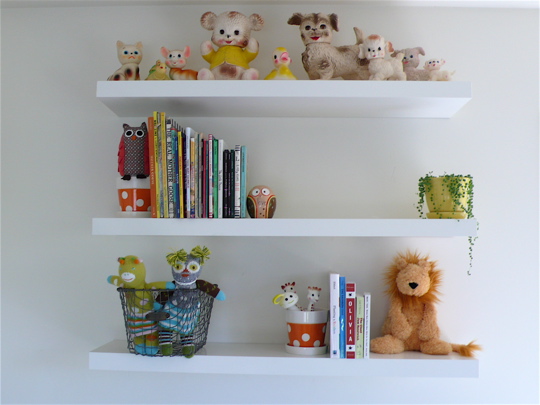
 What a happy room to be in.
 "Have you ever had a mulberry? It will blow your mind."
 So much creative inspiration can be traced back to nature!
 I knew from the moment I saw this
  I found this great leaf ribbon at a local fabric shop. It has a matte paper-like finish. It reminded me of the Tord Boontje


 Hurray for Japanese import fabric! I love this print from cosmo textiles. I decided to make a blanket with this happy print on one side to make us smile when we look at it and a super soft side that will be plush and lovely against baby's skin.

 Are you smiling yet?


 These little blue birds were made out of felt and the leftover scraps from the crib bedding. You will see them again soon singing a sweet song hanging from a twinkling mobile.