mini seating: found. fixed up. personalized.
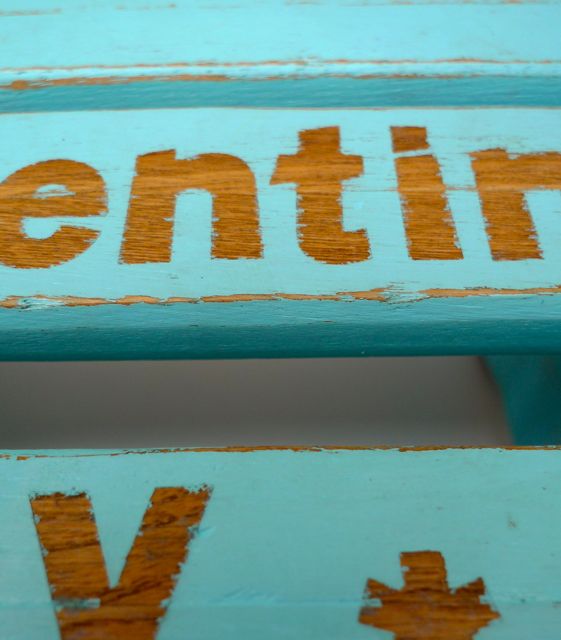
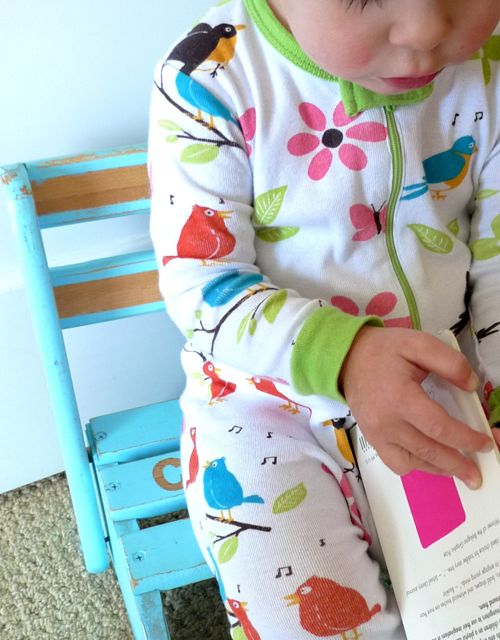
Our friends found this little step stool/mini seat for one dollar at a thrift store. One dollar!
They brought it home and with some sandpaper, stencils, masking tape, paint, a good idea and some love, they transformed it into personalized seating for the little miss.
How amazing is it to have such crafty and kind friends?!
Keep your eyes peeled while thrifting or hitting those yard sales.
This is a fun project and makes for a great gift.
a sweet little apron
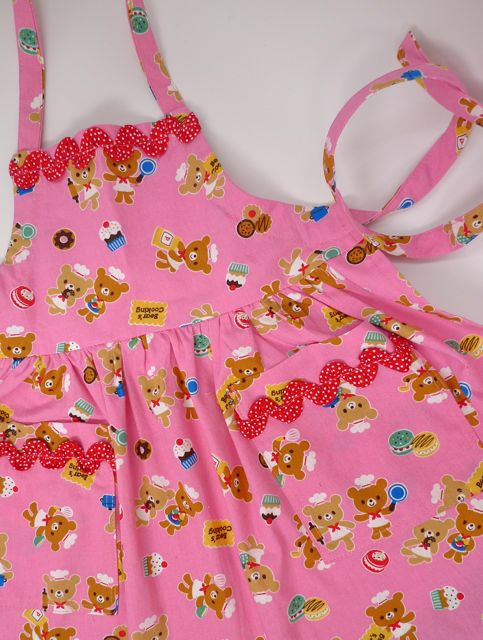
Look at how cute this fabric is! I will forever be a fan of Japanese import fabric. It always makes me smile. Clementine has been OBSESSED with cupcakes. I ask her what she would like for lunch and she replies in a sweet sort of drawn out way, "cup-cake".
It's so cute I often want to give in, but of course she'll have to eat her broccoli first.
As soon as I saw this print I knew it was destined for an apron. What better occasion that Valentine's Day to make it for the little miss?!
This was one of those easy patterns that you can buy off the rack at the fabric store.
I love how ruffly the skirt is and I dolled it up even more with some red and white polka dot ric rac.
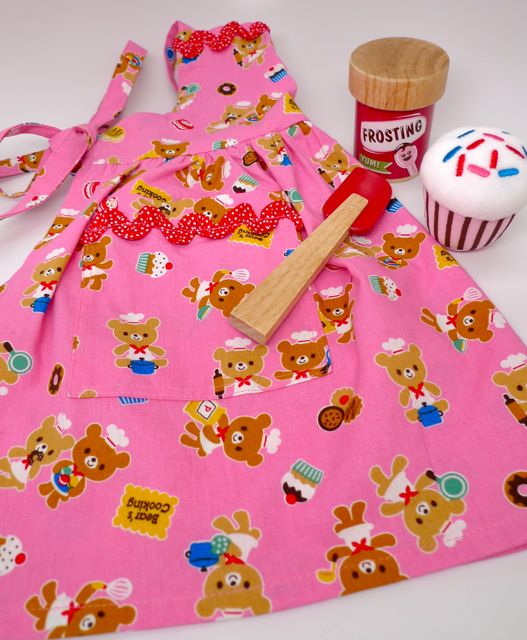 Perfect to go along with this play cupcake set!
And one for her little friend, too.
from your little love bird
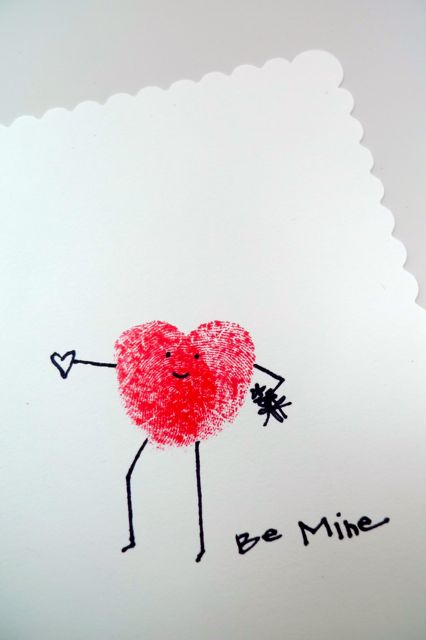
Making Valentines!
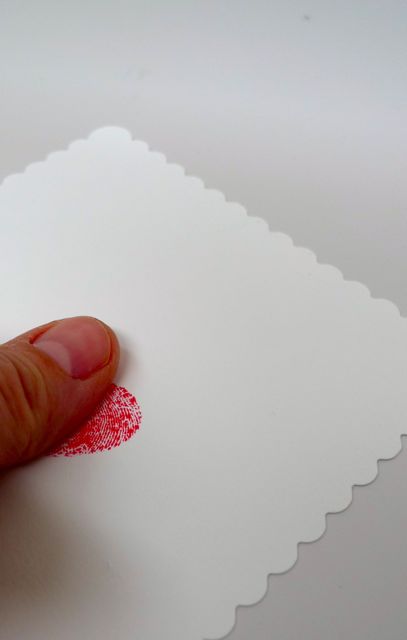
Trace your little one's hand and cut it out to use as the wing on your little love bird.
These are very easy to make and involve googly eyes which are always fun!
Cut out a heart shape for the head, a small heart for the beak and a bird shaped body.
Glue the pieces together.
This is super cute as is or you could add a photo!
make something: holiday wreath
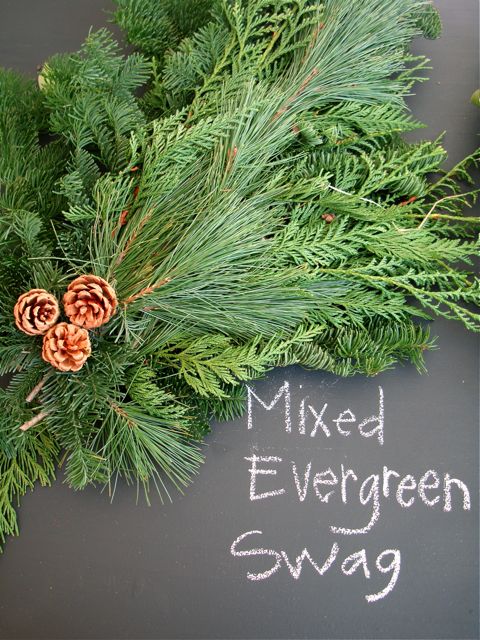
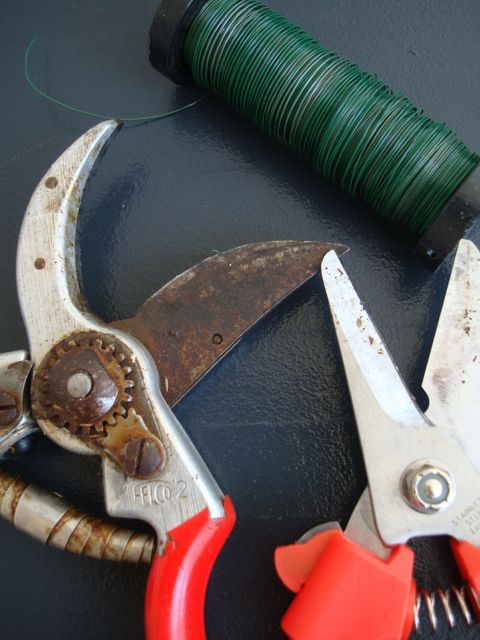
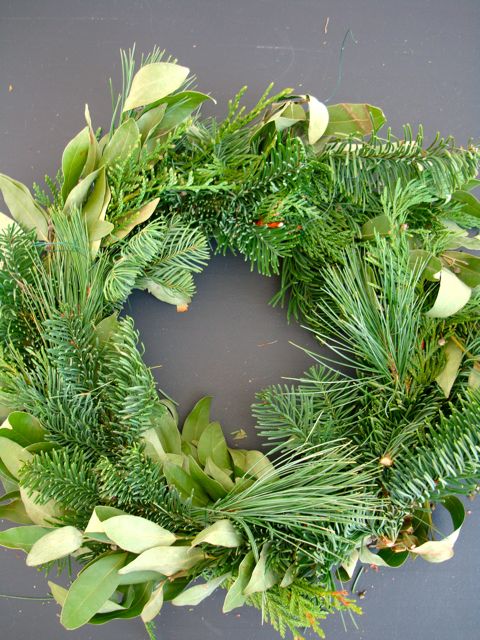
I splurged on a bay leaf garland. It was beautiful and smelled so good; I couldn't resist. I figured it could be part of our Thanksgiving centerpiece and then a garland in the house. Using it for two holidays made it worth it. Unfortunately, it dried out so quick! Enter back up plan: make two wreaths out of one garland. Of course I needed a few more "ingredients": one mixed green swag, pine cones and moss. That was lovely and all but it needed a little more texture. I raided my hens and chicks, wired each one and attached it to the wreath. I liked it but it needed more. On my afternoon walk with the baby and the dog I collected some berries, more evergreens and boxwood. A quick stop at the flower shop for a stem of seeded eucalyptus and a red branchy stem. Viola, my two wreaths were finished! You can click on the pictures below to see the progression. It goes together really simply with wire and a little hot glue.
make something: giant pixy stix magic wand
This is a fun and easy project.
This magic wand was made for a certain sweet little halloween witch.
Change the colors for princesses or birthday party favors!
When you're all done making magic you can eat your wand.
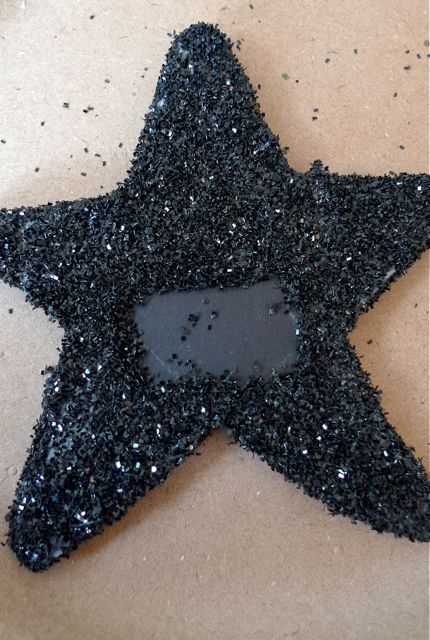
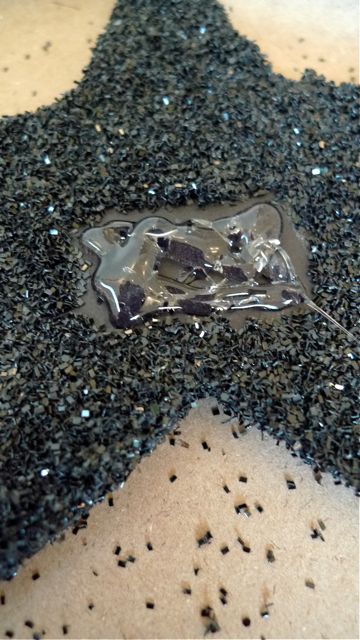
Follow the pictures to see how it's done. I found that foam board makes a better star than cardboard as it is less likely to warp with the glue.
