
I used to love peeps when I was little. They were my favorite thing in the easter basket. I would open the package immediately, eat one (or three or five) fresh and then leave the rest to get stale because I liked them a little chewier. They never really lasted that long though. Oh, my teeth cringe at the thought of it now!
To me, peeps symbolize this happy childhood springtime. So, why not a peep bouquet?

What you need:
peeps, skewers, candy grass, tissue paper, raffia
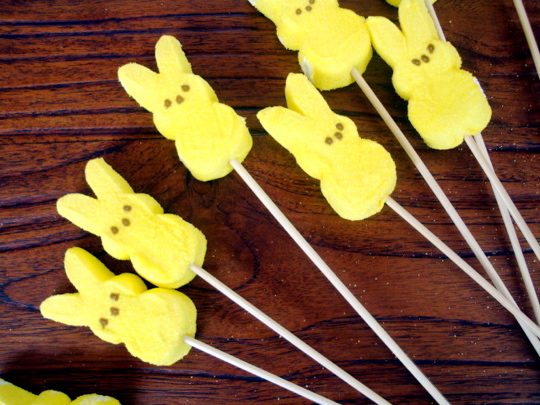
Stick a skewer into your peeps.
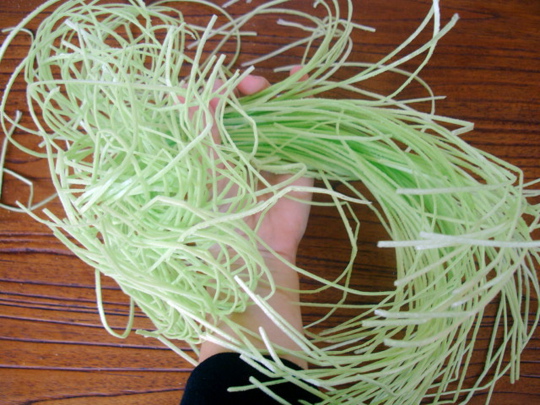 Unroll candy grass and cut in the center. Put both sides together and hold in one hand.
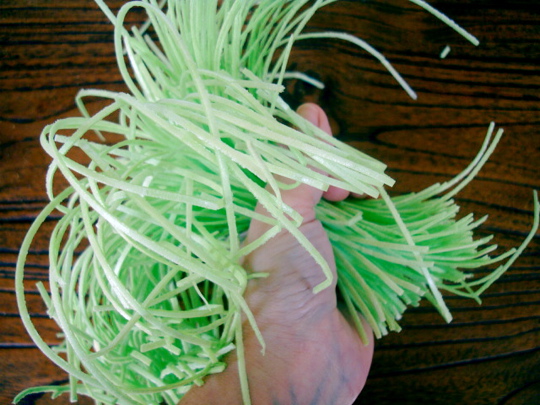
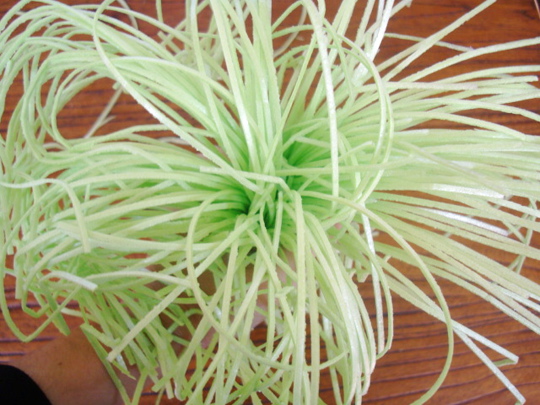
With the other hand, insert your bunny skewers into the grass.
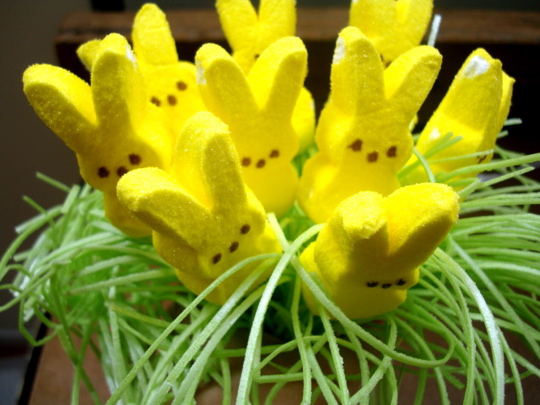 I faced them all out smiling at the recipient.
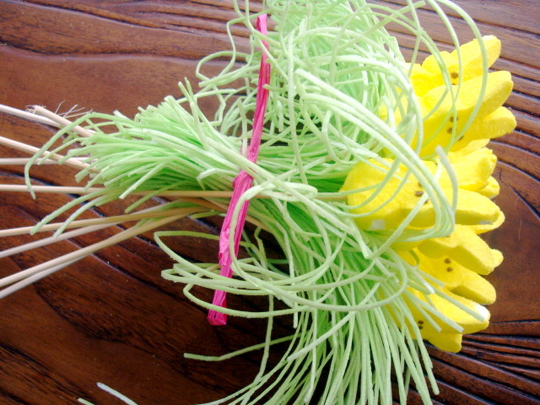 Tie together.
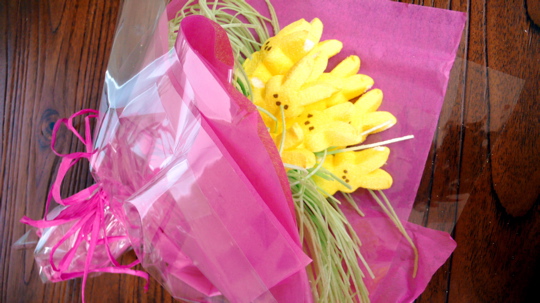 Wrap up with tissue paper, just like a flower bouquet, and tie with a big raffia bow.
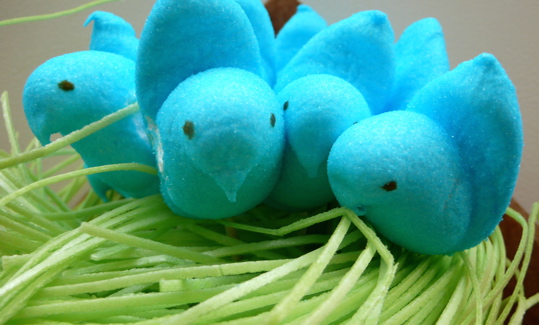
Same concept goes for the blue bird peeps except leave the candy grass rolled up in "nest" and insert your birds into it.
Tie together and wrap up.
 Who need flowers when peeps are in season!
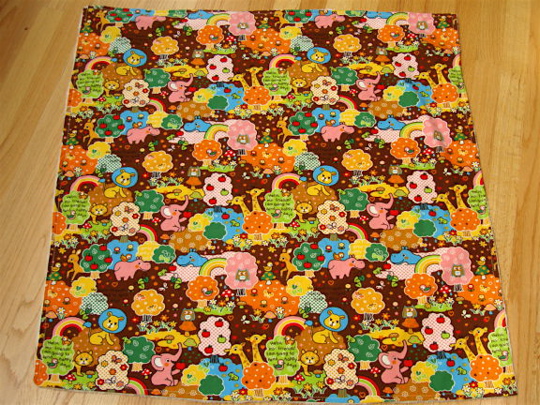
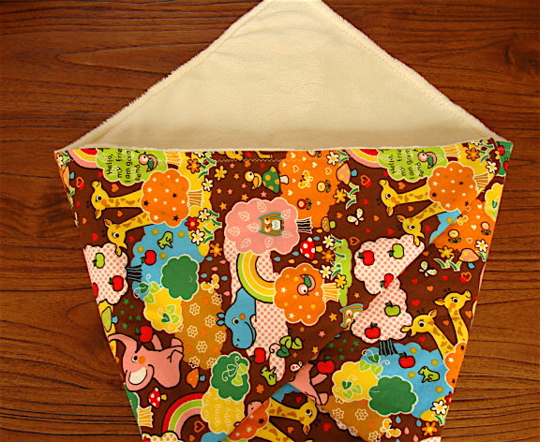 Hurray for Japanese import fabric! I love this print from cosmo textiles. I decided to make a blanket with this happy print on one side to make us smile when we look at it and a super soft side that will be plush and lovely against baby's skin.

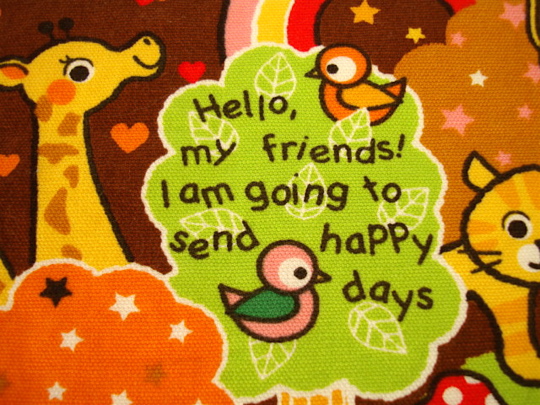 Are you smiling yet?


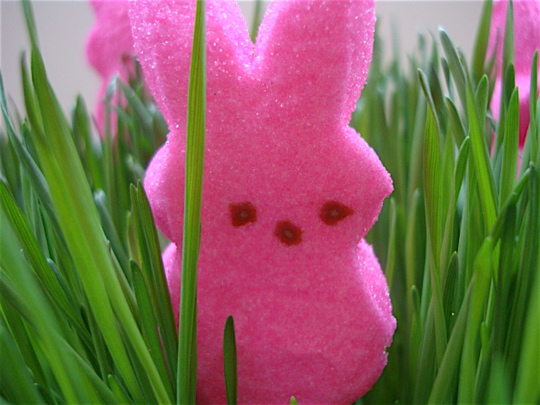 Maybe I'm a little peep obsessed right now, but here is another idea involving those sugary little bunnies.
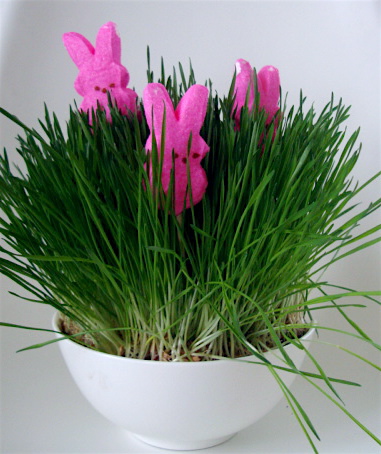
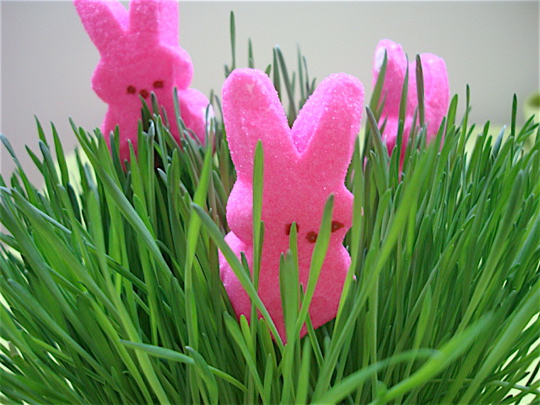


 Who need flowers when peeps are in season!