bunny grahams
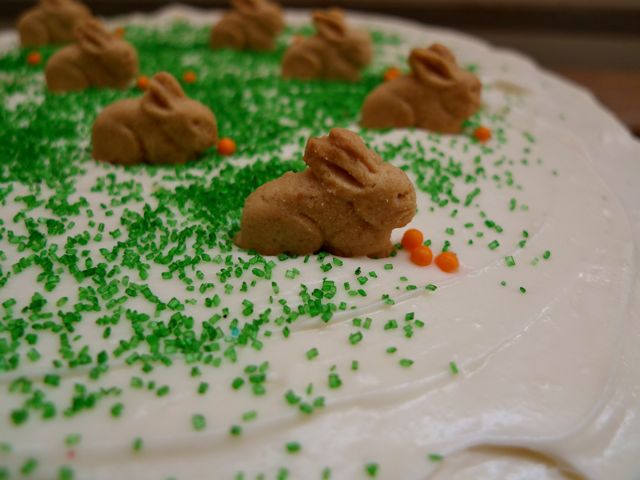
Annie's bunny grahams are super cute and easy to use as a cake topper. Perfect for our carrot cake!
Annie's bunny grahams are super cute and easy to use as a cake topper. Perfect for our carrot cake!
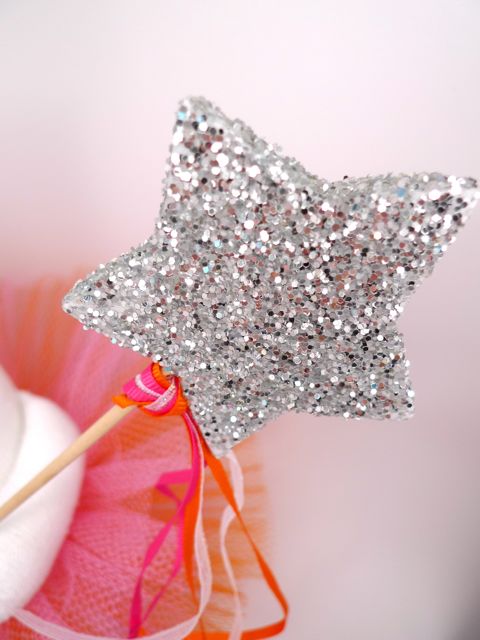
This is where my inspiration came from for my {egg}bunny in a tutu. When I was little my mom made these sock bunnies and sold them at craft fairs. I remember both my sister and I had one hanging down from our ceiling like a magic fairy. My nostalgic self begged her to make them once again.
If you know someone who would like one she is making them to sell! They are available with various color tutus and coordinating ribbons hanging from their sparkly star wand. Email me at gatherandnest@gmail.com
*
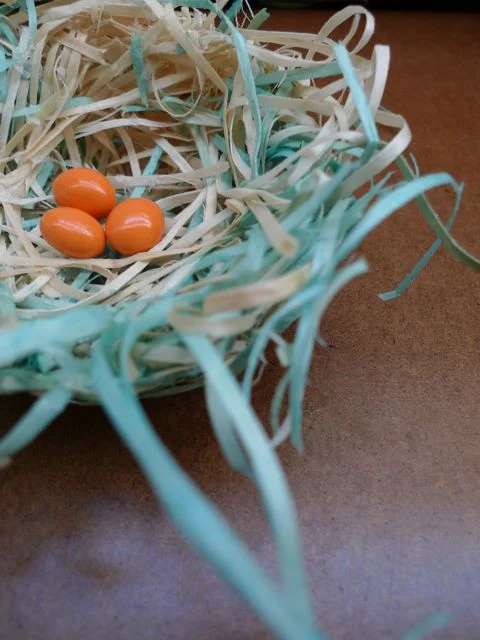
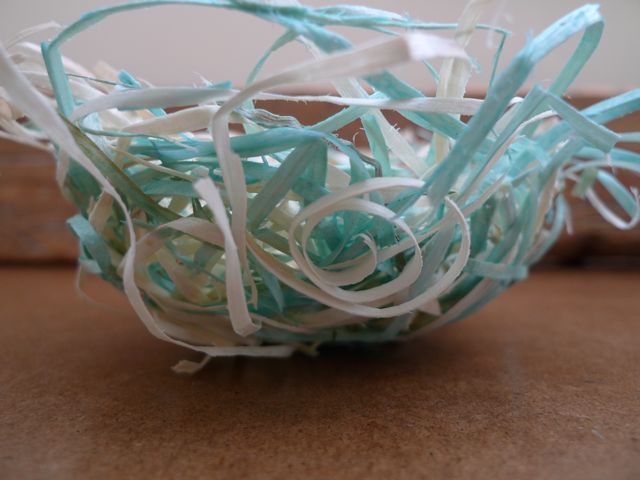
I was searching for some Easter table inspiration and came upon brown bag nests. Genius. (On a side note: the maker of these brown bag nests, Ellen Luckett Baker, whose work I have seen in some crafty books that I own, has an amazing blog called the long thread which has now made my to do list much longer!)
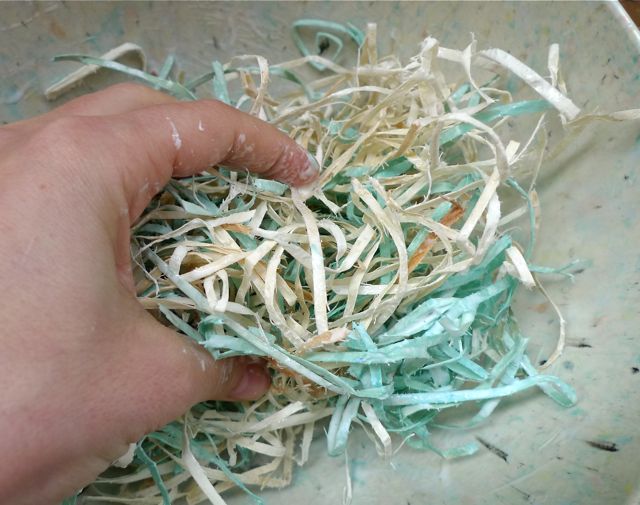
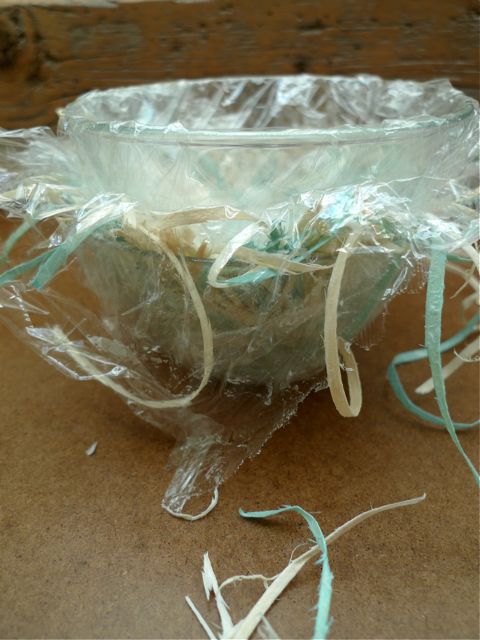
I had to make these nests, but the brown paper bag part really didn't fit into my vision for our table. I figured I could use any sort of shredded paper like the kind they sell as basket or package filler, and as I cruised the aisles at Michael's trying to decide what color I would choose, I found it: The Aspen Collection wood shavings by Excelsior. It really is Aspen mulch in all of it's eco friendly, biodegradable glory and oh, such a pretty color! I used super strong Elmer's white glue to bind it all together. These are really easy to make, you just need some plastic wrap and a small bowl.
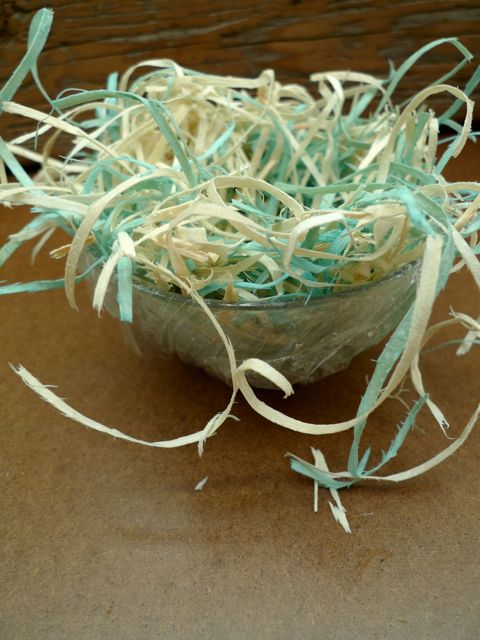
I made my nests from memory and realized just now when I looked back at the instructions that she put the paper on the outside of the bowl. Guess I don't follow directions well. I smooshed all of my glue covered wood shavings into the plastic wrapped bowl, topped it with another piece of plastic wrap, pressed down to help form it and then placed another bowl to hold it in place. I kept the nests that way for most of the day to begin the drying process and hold their form, then I unwrapped it and let it dry the rest of the way until firm. Using the wood makes it sort of wild and twiggy nest which I love.
Now to figure out the rest of the table!
I thought it would be fun to make a spring themed terrarium.
My vintage bunnies (who ironically have tails made out of rabbit fur, ew!) are a perfect addition.
This would make for an interesting easter centerpiece. No bunnies? Use fuzzy yellow chicks. Or, for a more sophisticated look, a small nest with dyed quail eggs would be amazing.
Terrariums are very popular right now. Supplies are readily available at nurseries and plant stores. Look for the small plants in mini pots and most likely a selection of air plants (tillandsia) as well. There are amazing glass containers from unusual shapes to hanging vessels, and of course you may just have the perfect thing lying around the house like a vase, mason jar, or in my case a punch bowl!
I started with rocks, added soil, and then placed my plants in. I chose a few small succulents, a fern, baby tears, and then for the springy part: muscari, mini daffodils, and ipheion. Unfortunately, the bulb plants are short lived, so they will either have to be replaced (but can be replanted in your yard!) or the centerpiece assembled a couple of days before it is needed. Some moss, found objects, rocks, shells, etc., are all great additions. How about a carrot?
Portland has some great places to go for assembling terrariums like Artemesia and Pistils, and there's always the Portland Nursery.
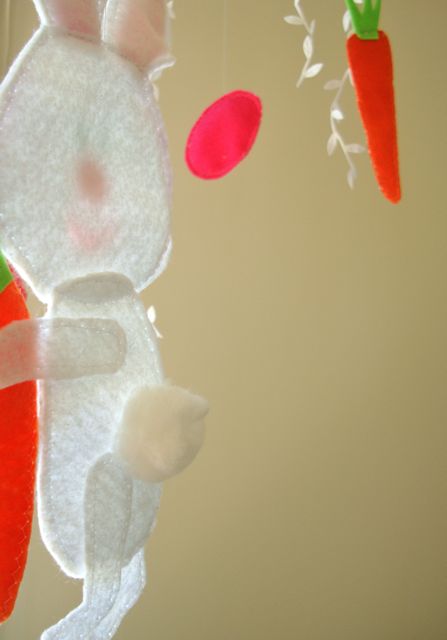
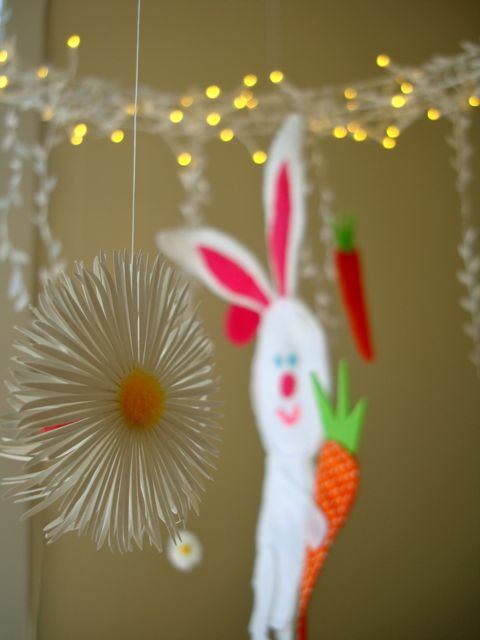
My first holiday mobile: eggs, carrots and a bunny all made of felt and fabric scraps hang sweetly next to paper flowers and leafy ribbon from an ikea light. The blue {egg} birds are resting on top. It's pretty cute!
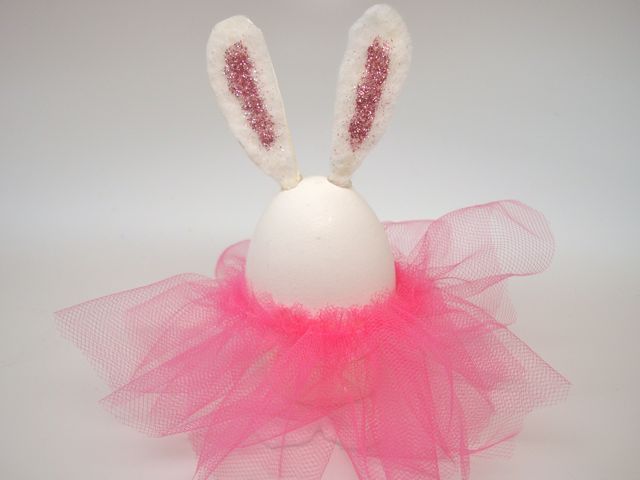
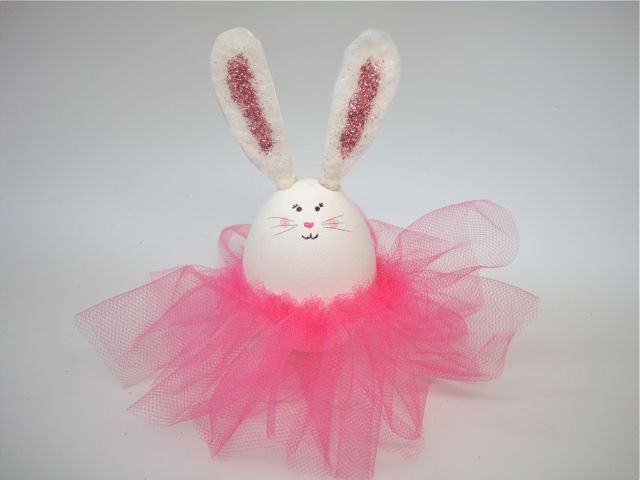
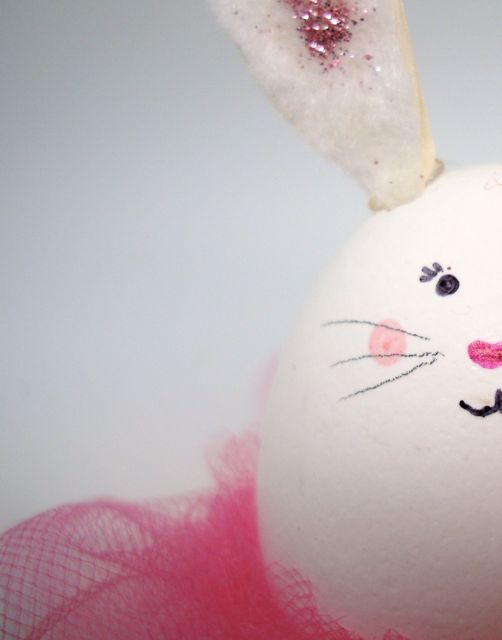 I have issues. The household chores beckon me along with many other projects, yet I found it ever so important to make a ballerina bunny out of an egg. How cute would these look at each place setting for the easter table?!
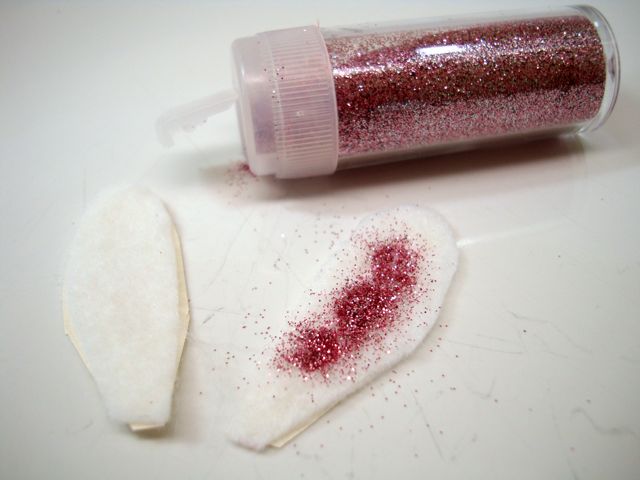
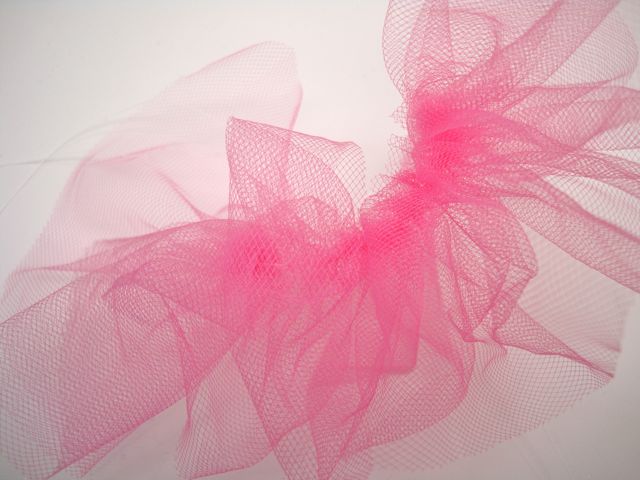
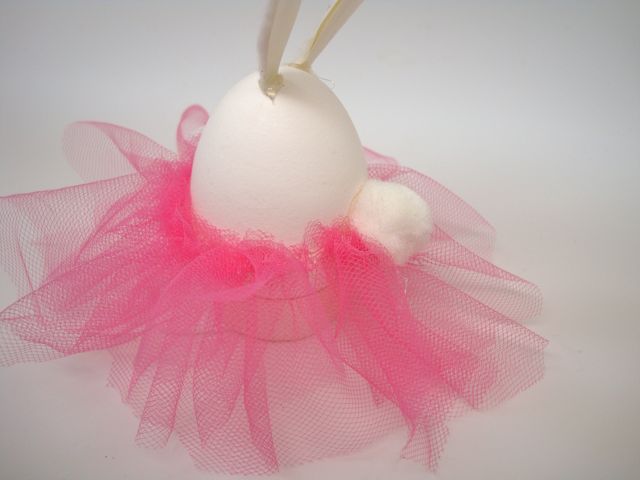
Blow out the insides of the egg (same as directed in making blue {egg} birds). I put two holes at the top to blow into; one for each ear, which is made out of felt and then backed with paper to help it stand up straight. I cut "feet" out of one piece of felt and hot glued it to the bottom the egg. The bunny may stand up fine on her feet and will definitely be able to hold herself up with the tutu, but you will see I also made a paper ring to assist. In the end, I removed the ring. For the tutu, I gathered one long piece of tulle and hot glued it around the "waist". I left my tutu long but it could be trimmed shorter. A pom pom for the cotton tail and some sharpies for the face.


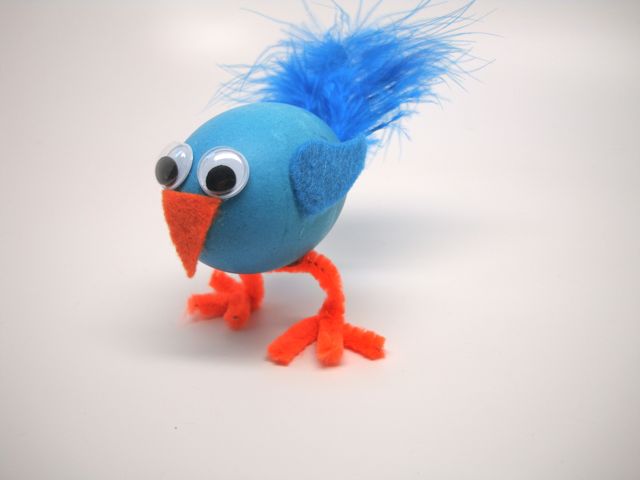
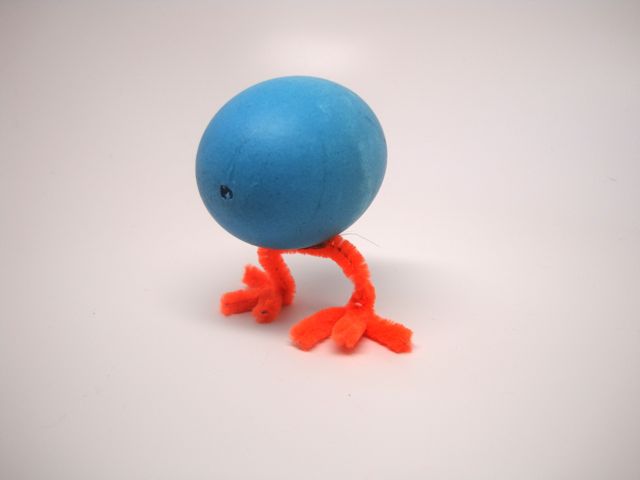
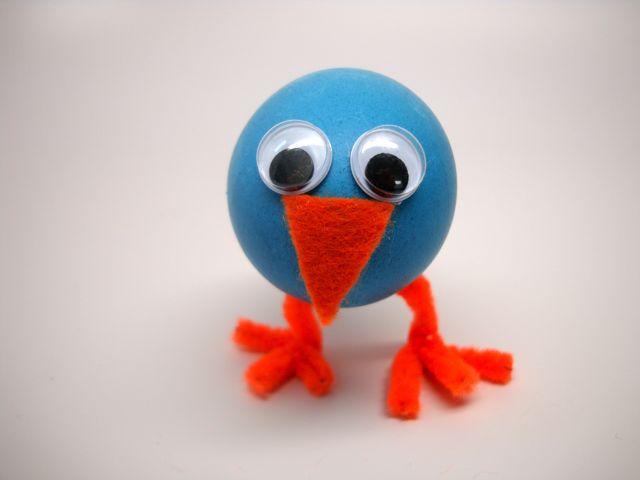
I first imagined these to be a little different; more refined, pretty. However, my reality is entertaining a 20 month old, so these birds had to be SILLY!
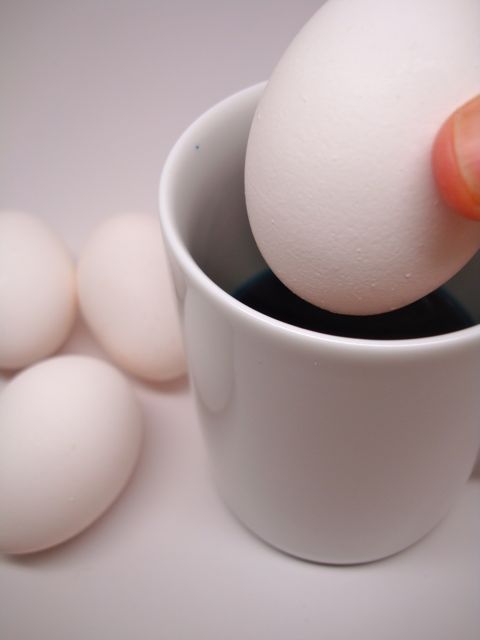
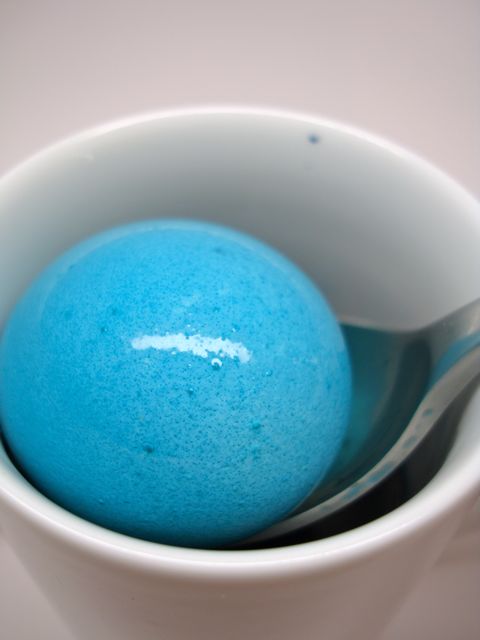
Start with fresh white eggs. The inside will have to be removed by using a small nail to make a tiny hole on each end of the egg and blowing. The beauty of this project is that the holes end up getting covered so they can be larger than normal to make this whole process a little easier. This can be done before or after dying. I think it is easier to dye the whole egg since it sinks into the cup, but this results in blue lips after blowing out the eggs. Keep that in mind!

Enter my kid craft staples: felt, google eyes, pipe cleaners, hot glue and feathers.


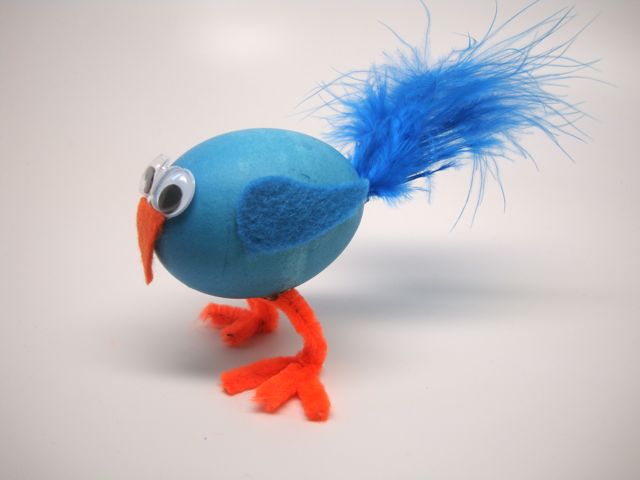
You should see the little miss smile and say "caw! caw!", it is most certainly a stamp of approval.
This would be a great easter project to do with craft-crazy kids!