cottontail cupcakes!

cotton-tail1.jpeg

Here it is, my excuse for buying a cotton candy machine...

the cottontail cupcake!!

Like I said earlier, I had a vision.

Here's how it developed:

cupcake + toothpick + cakeball (a donut hole would work too)

fluffy white frosting

edible candy grass = whiskers

large blue nonpareil = eyes

pink decorating gel = mouth

and don't forget the paper ears

 Hi there, cutie. You just need a fluffy tail...

gold at the bottom of the rainbow {cake} and the rest of our st. paddy's day

cake.jpg

The little miss may not have caught a leprechaun, but it was fun to try! We know there was one in the house though; she had a green lip print on her forehead when she woke up and all throughout the day things kept turning green! As for the rest of our St. Patrick's Day, there were rainbows in all forms, lots of green, and of course, gold!

I have been wanting to make this rainbow cake forever! I didn't follow the recipe exactly, I put whipped cream in between my layers and used a homemade vanilla frosting instead of a lemon buttercream. The cake is super moist and delicious. Although I had to get the idea out of my head that I wasn't eating play-dough every time I took a bite! Chocolate gold coins graced the bottom of the cake...gold at the bottom of the rainbow!

stp11.jpg

A crepe paper rainbow and a pot of gold were found in the bathroom.

stp2.jpg
stp3.jpg

Caramel chocolate pretzel sticks, stickers, green nail polish, shamrocks, and glittery green hats.

stp8.jpg
stp6.jpg
stp9.jpg

shamrock bites

cookies5.jpg

Here it is, my St. Paddy's Day version of the Love Bites I made for Valentine's Day. Substitute green for pink and switch the cookie cutter!

Here's the recipe again:

2 sticks butter, softened

3/4 cup powdered sugar

1/8 teaspoon salt

2 1/2 cups all-purpose flour

1/4 green nonpareils

With mixer on medium speed, beat together butter, sugar, and salt until light and fluffy, about 3 minutes. With mixer on low speed, gradually beat in flour until combined. Mix in nonpareils. Roll dough to 1/2 inch thickness between two sheets of wax paper, transfer to baking sheet, and refrigerate for 3 hours or up to 3 days. (LOVE make ahead stuff! Especially when I made the dough I realized I didn't have a shamrock cookie cutter!)

Heat oven to 350. Cut out shapes from dough. Place on baking sheet 1/2 inch apart and bake for about 14-18 minutes, until just golden. Transfer cookies to rack, and cool completely.

You can brush the edges with light corn syrup and dip into crystalized sugar for a finishing touch.

cookie1.jpg
cookie.jpg
cookie4.jpg

make a brownie waffle!

photo-1-1-1024x1024.jpg

I saw this on pinterest and knew I had to try it.

It is so easy.

We just whipped up our favorite brownie mix and scooped it onto our waffle iron just as if you were making a waffle. In three minutes we had a warm, chocolatey, and really fun snack! How about some vanilla ice cream for a brownie waffle ice cream sandwich?! Yes!

It doesn't have the dense, chewy characteristics of a brownie, as the Mister said, it's more like  eating the yummy brownie edges. Did I mention how happy he was with this whole idea?

Try it for fun. I doubt you'll be disappointed!

photo-1-1024x1024.jpg
photo-2-1024x1024.jpg
photo-4-1024x1024.jpg
photo-5-1024x1024.jpg

love bites.

vday-lovebite31.jpg

Ridiculously easy and SO yummy! The best part? There's nonpareils in the dough! 

(from Parents magazine)

2 sticks butter, softened

3/4 cup powdered sugar

1/8 teaspoon salt

2 1/2 cups all-purpose flour

1/4 cup pink/red nonpareils

With mixer on medium speed, beat together butter, sugar, and salt until light and fluffy, about 3 minutes. With mixer on low speed, gradually beat in flour until combined. Mix in nonpareils. Roll dough to 1/2 inch thickness between two sheets of wax paper, transfer to baking sheet, and refrigerate for 3 hours or up to 3 days. (LOVE make ahead stuff!)

Heat oven to 350. Cut out bite-size heart shapes from dough. Place on baking sheet 1/2 inch apart and bake for about 14-18 minutes, until just golden. Transfer cookies to rack, and cool completely.

You can brush the edges with light corn syrup and dip into crystalized sugar for a finishing touch.

I dipped some of my cookies in chocolate which turned out to be a delicious combination.

They are also just plain yummy on their own. Not to mention cute and mini!

vday-love-bite-sprinkle.jpg
vday-lovebite2.jpg
vday-lovebite11.jpg

This recipe could easily be varied for other occasions...green nonpareils and a mini shamrock shape for St. Patrick's Day. Or even just rainbow nonpareils in a simple circle or star would be cute. I'll keep this cookie recipe close by!

donut hole snowman

s9.jpg

Hello, little snowman! I was inspired by Martha Stewart's ice cream and coconut snowman. What a cute idea, but just not the right party treat for our toddler craft party. Hmm, what else is round and little?

Donut holes!

At first, I imagined plain donut holes that I would frost, stick together, and top off with a toasted marshmallow hat like Martha. Funny thing is, I couldn't find plain donut holes. After I thought about it some more, I realized that frosting on top of donuts was not really necessary (especially for two year olds!) so why not just powdered sugar covered ones? That just made the whole project SO much simpler!

What you need:

3 powdered sugar covered donut holes

toothpick

frosting

2 eyes (nonpareils, or 2 pieces cut from black licorice string, or anything else you can think of that will work, even two tiny dollops of black frosting)

carrot nose (I used a piece of candy corn, cut the orange middle and molded it into a carrot. You could also use marzipan and dye it orange.)

mouth (In this case, red decorating gel you can buy in the little tube in the baking section did the job!)

One skinny pretzel stick cut in half for arms.

whipped cream for snow (optional)

Here's the step-by-step:

s2.jpg

Put a dollop of frosting on your plate. Place one donut hole in the frosting. Insert toothpick into the center of the donut, pointy side up. Do not push all the way down.

s3.jpg

Add the second donut hole.

s4.jpg

Add the third donut hole.

s6.jpg

Use another toothpick to make indentations for your eyes, nose, and arms. Put a tiny amount of frosting in the holes to help hold everything in.

s7.jpg

Insert eyes, nose, and arms.

s8.jpg

Add a mouth.

s9.jpg

Some whipped cream snow and a few sprinkles make a little more fun!

s10.jpg

These little snowmen go together in minutes! Sure, you could add a hat and a scarf if you wanted, but I like them simple and sweet. I can't help but smile when I see them. The girls LOVED them!

sparkly chewy ginger cookies

chewy-ginger1.jpg
ginger5.jpg
ginger2.jpg
ginger3.jpg

This month's bon appetit has some amazing cookie recipes. Of course, I will be making the pink peppermint meringues that grace the cover, but first I had a hankering for some ginger cookies.

The recipe calls for powdered, fresh, and crystalized ginger. I didn't have any crystalized, so I just added a little more fresh ginger.

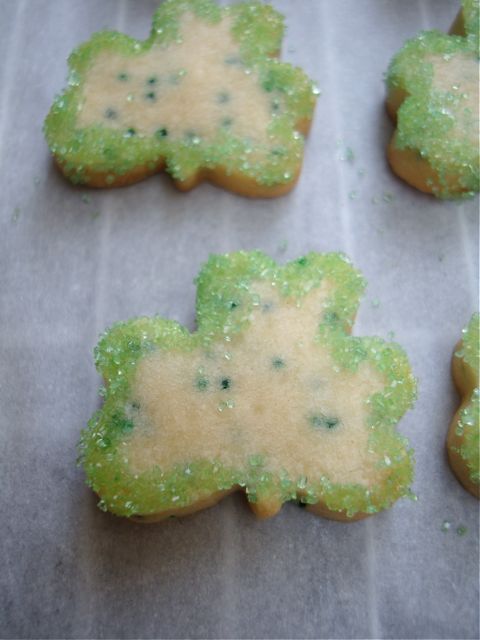
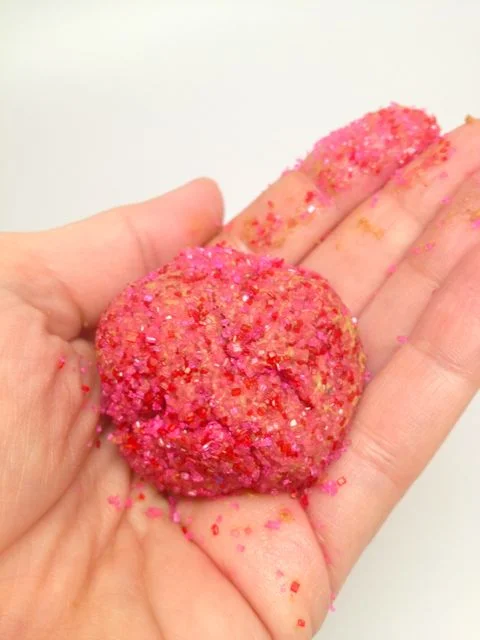
The sticky dough is spooned out into a bowl of raw sugar, which is what they used and does look lovely and naturally sparkly, but since I had no raw sugar at the house I used the second option which was sanding sugar. I just happened to have many colors on hand.

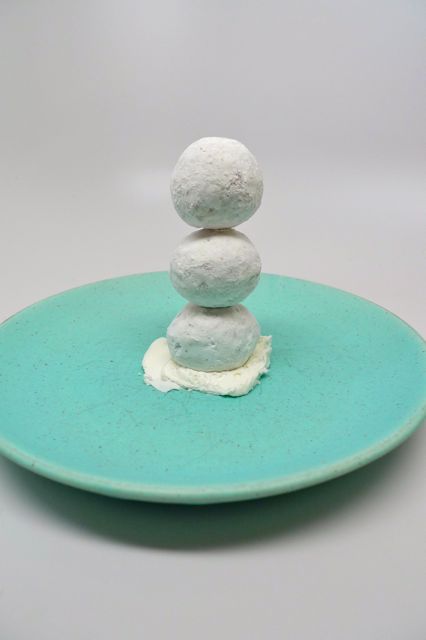
After covering the dollop of gingery goodness in sugar, it is rolled into a ball and placed on a cookie sheet. I was quite enamored with these little gems and I hadn't even cooked them yet! They looked so pretty sitting there on the parchment.

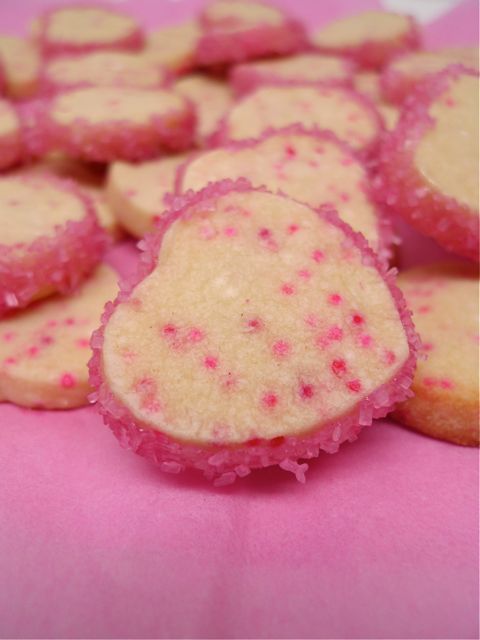
I waited anxiously for the twelve minutes to go by as they cooked. One, because I was so eager to taste them but mostly, two, because Clementine was kind of whining and carrying on that she wanted a cookie.

"A pink one, mama! No cook! No cook! Clementine want a pink cookie mama, please. C-o-o-o-o-o-o-o-o-k-ie!" Repeat. Repeat again. You get the picture. It was a long twelve minutes. Plus cooling time, which is a little hard to explain to a two year old, but when all was said and done, definitely worth it! This recipe is a keeper.